
Skip to content
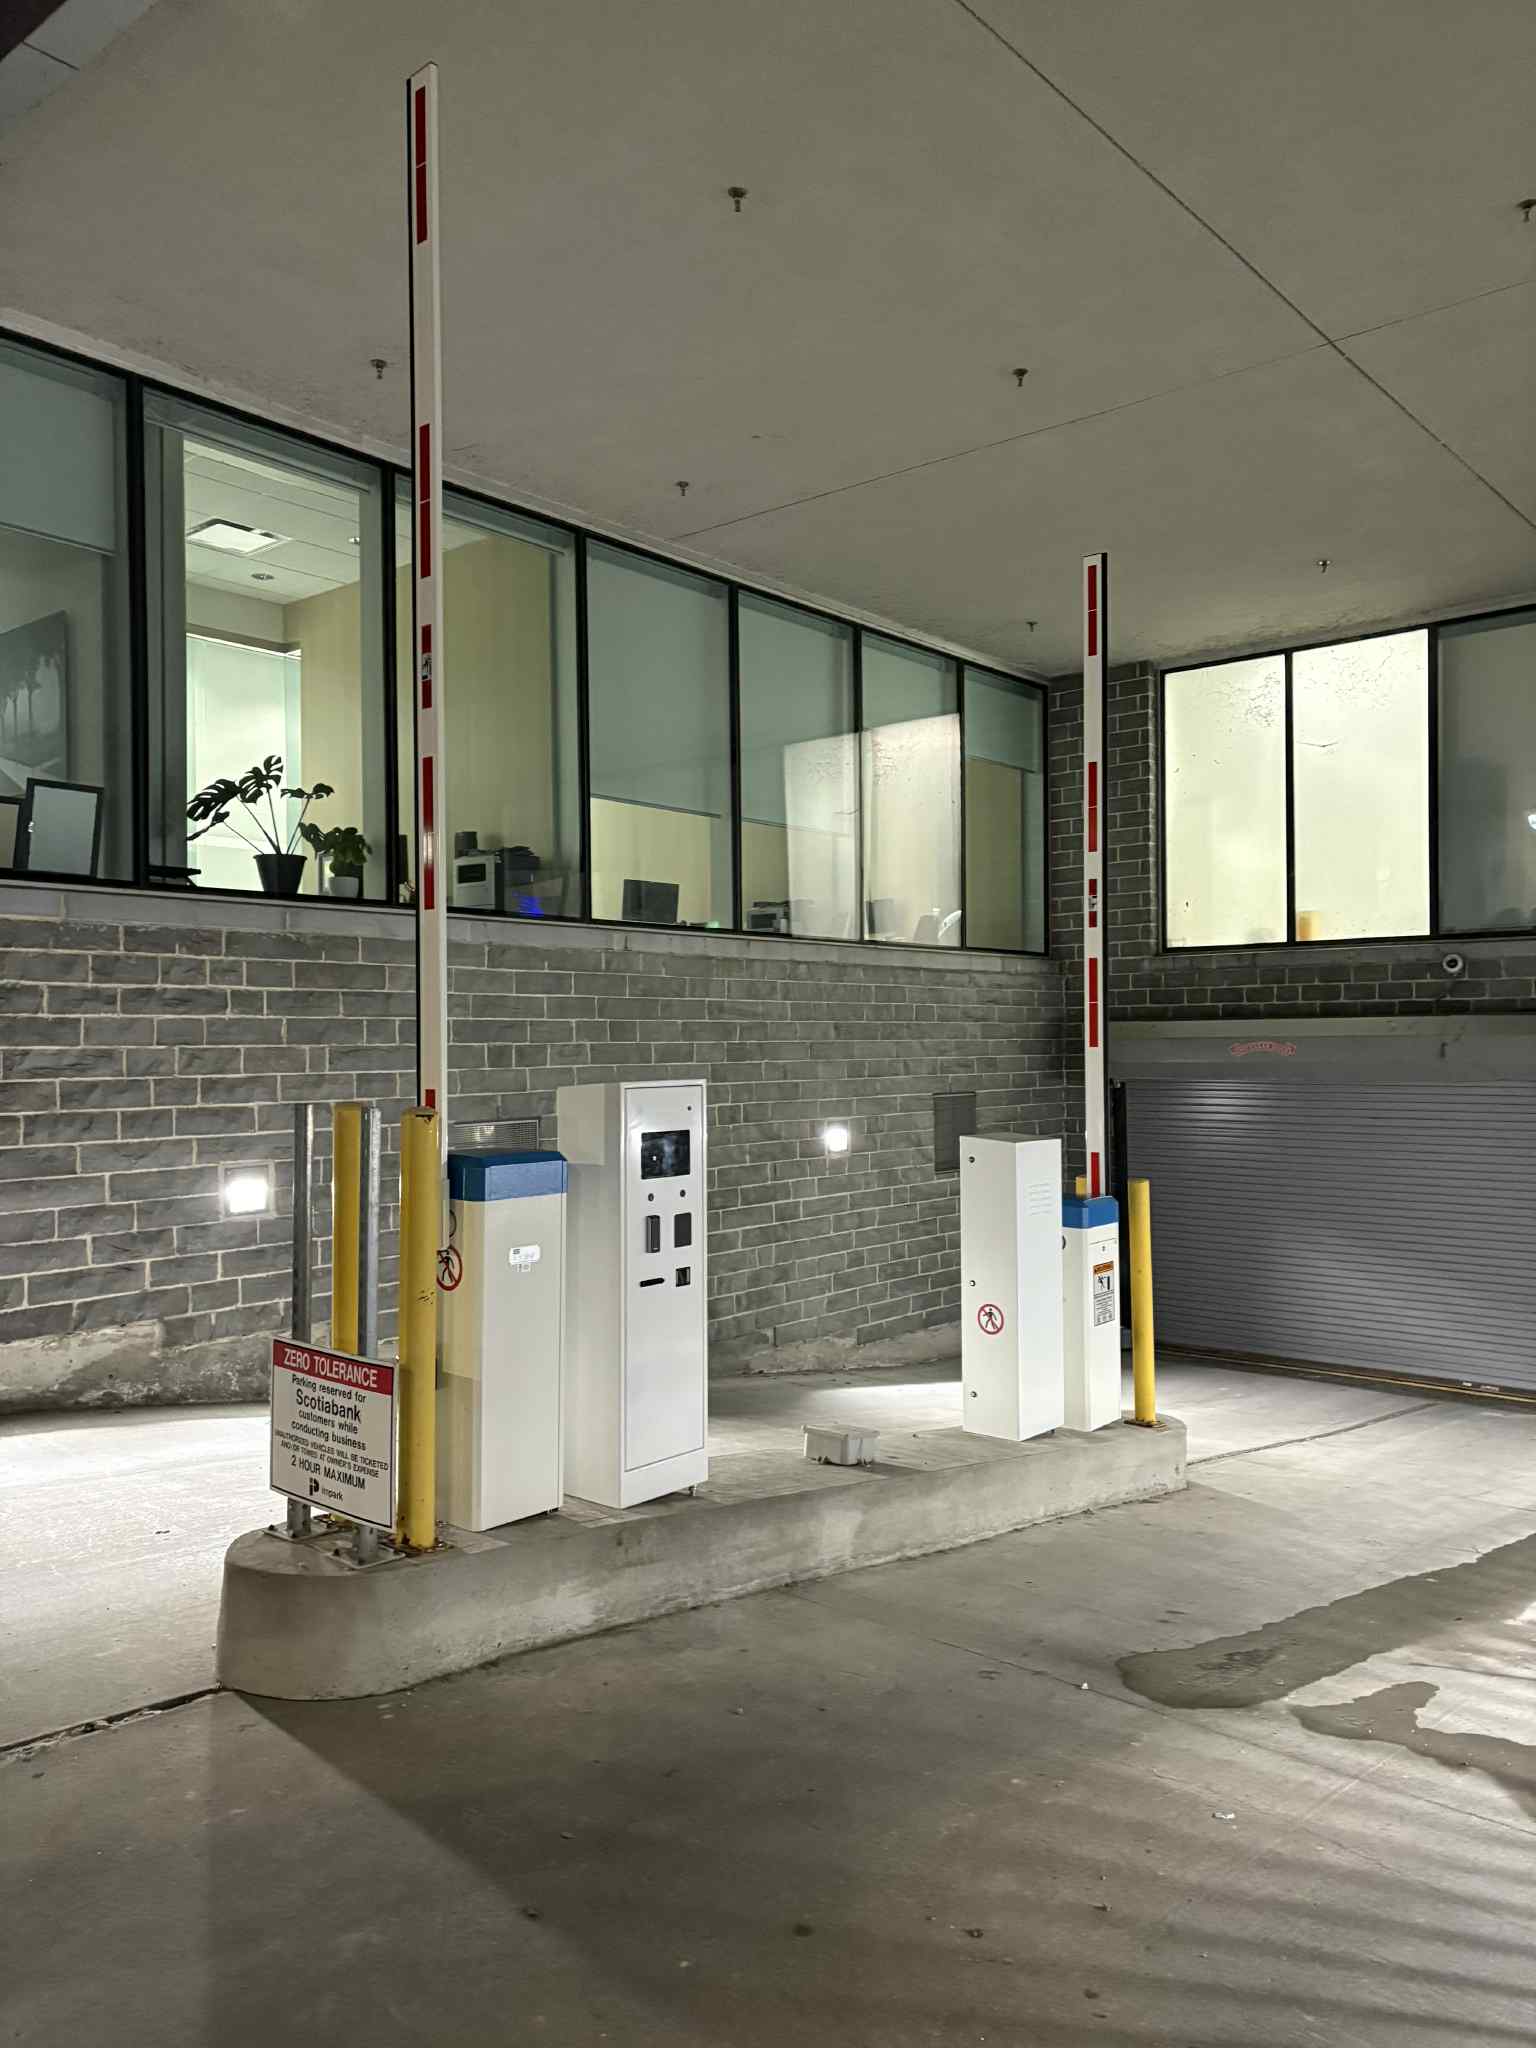
Completed Lexoh automatic parking barriers and kiosks at Scotiabank Kingston
Turnkey vehicle access

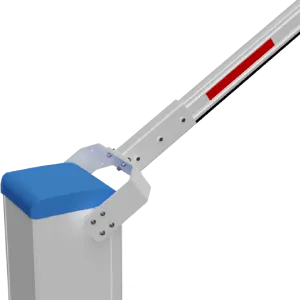
Turnkey automatic parking barrier systems

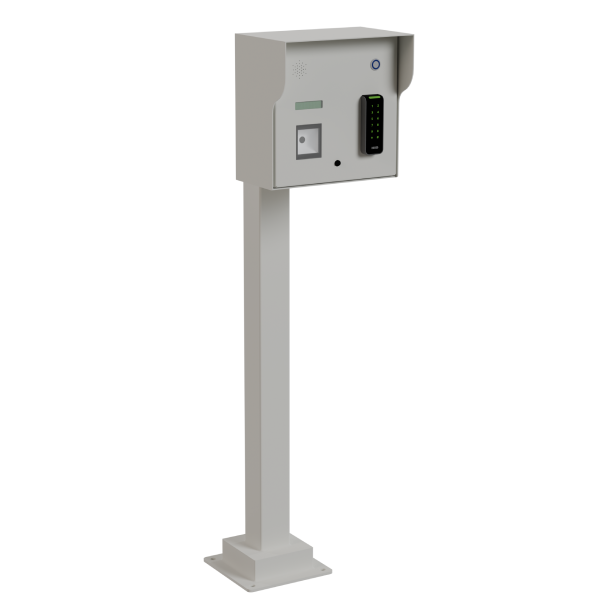
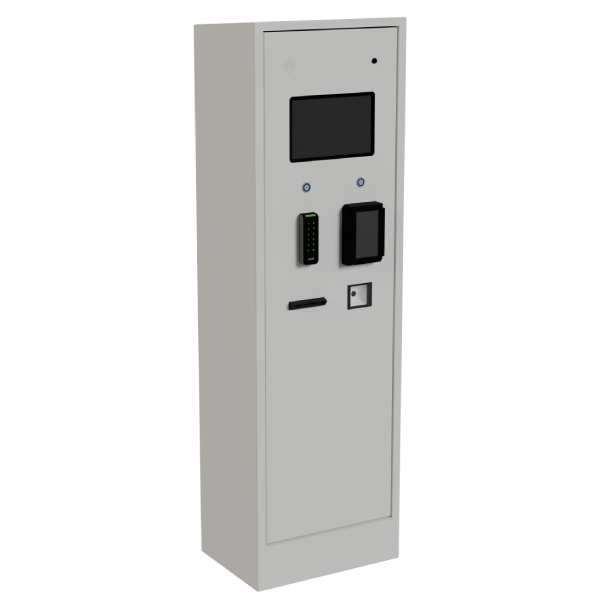
Supply and installation of automatic parking barriers. Lexoh coordinates lane design, access controls and commissioning, with payment kiosks or intercoms included according to your project scope.

Defined project scope
Lexoh management software
Access methods selected by site
Detection and safety sequence
Applicable service plan
Turnkey delivery

What does automatic parking barrier installation include?

Installation can include the site survey, foundations and conduits, power and network coordination, barrier and reader mounting, vehicle detection, software configuration and operator training. The quote defines which tasks are included, who performs them and how the complete lane will be tested.

01

Site review

Document lanes, traffic flow, available infrastructure and operating requirements.
02

System design

Define barrier placement, detection, credentials, communications and lane behaviour.

03

Site preparation

Coordinate the bases, protection, conduits and required power or network work.

04

Equipment installation

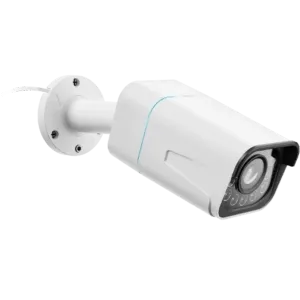
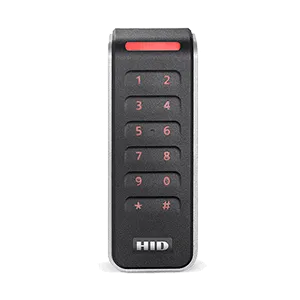
Install the selected barriers, detectors, readers, kiosks, cameras or intercoms.

05

Software configuration

Create the sites, zones, schedules, users, credentials and operational rules.

06

Testing

Verify identification, safety detection, opening logic, closing logic and exception scenarios.

07

Commissioning

Put the controlled lanes into service and document the approved operating sequence.

08

Training and support

Prepare operators to manage daily use and establish the applicable support plan.

On-site civil work

Field work documented step by step

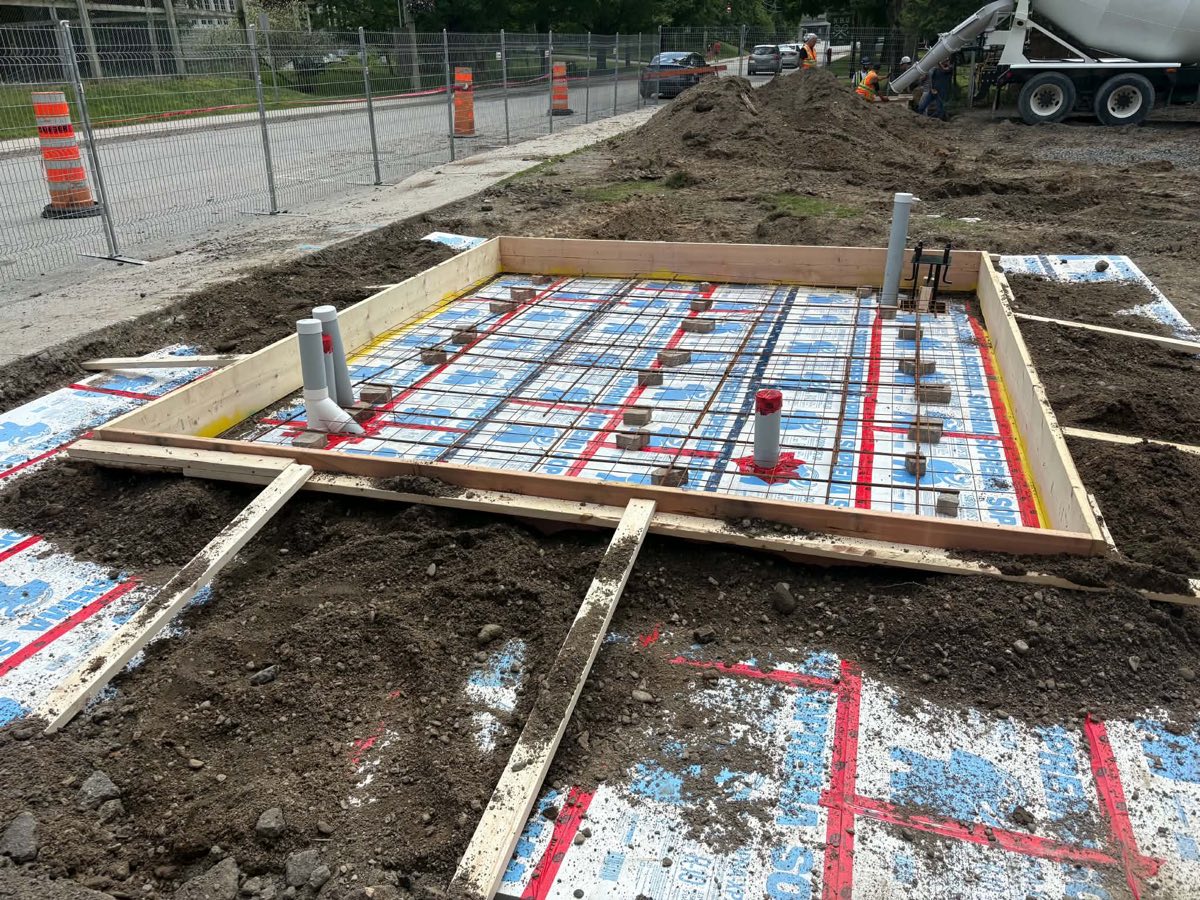
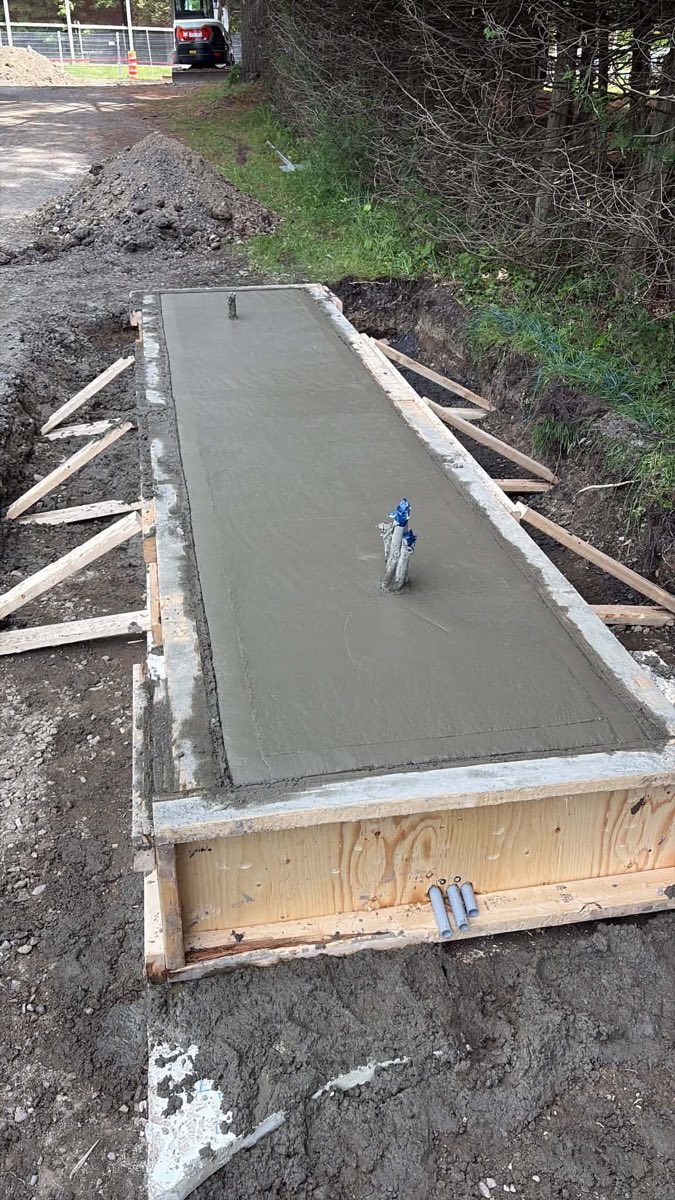
Before the barrier or reader is installed, the lane requires coordinated civil, electrical and communications preparation. These field photos show the work beneath the finished system.
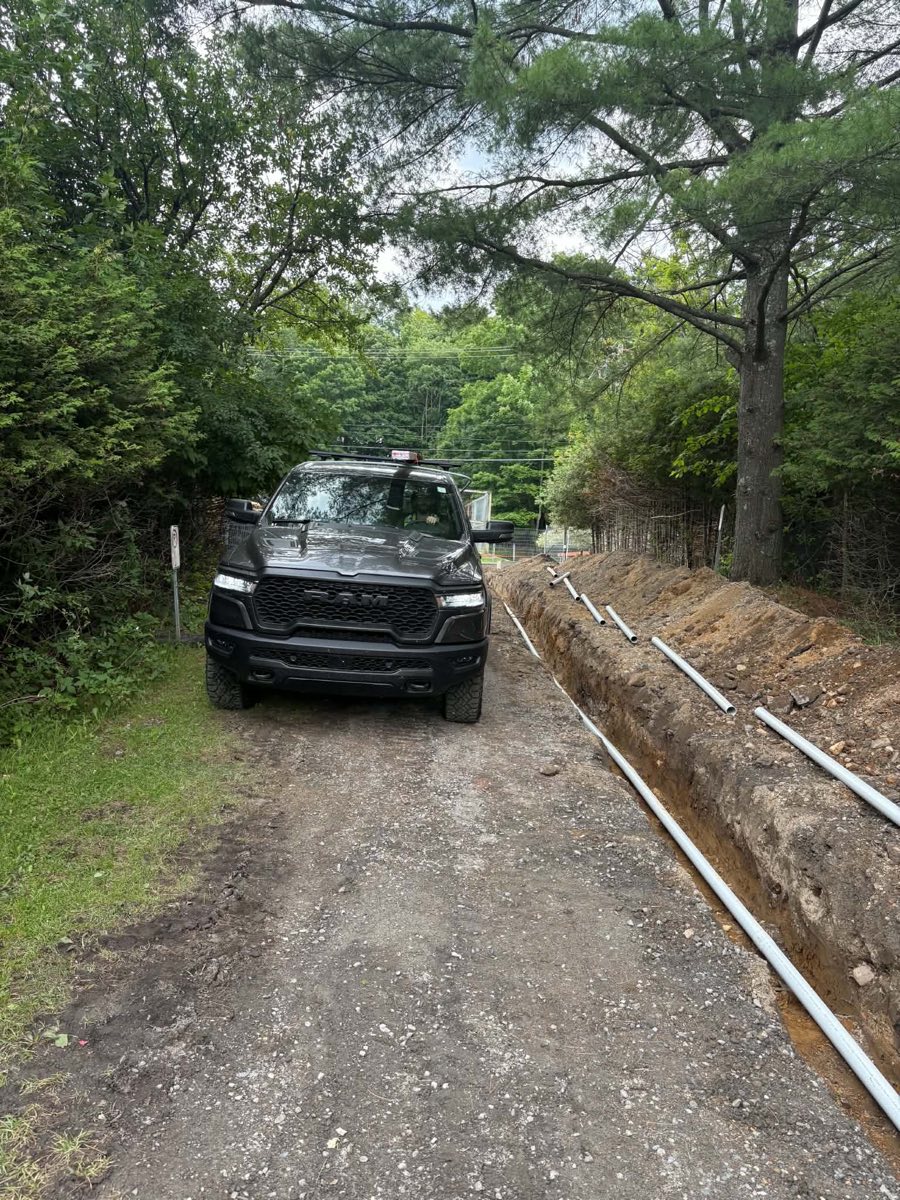
Excavated trench and conduits during preparation of a vehicle access control site
01 — Excavation and conduit route Trenching and preparation of a protected route for power and communications.
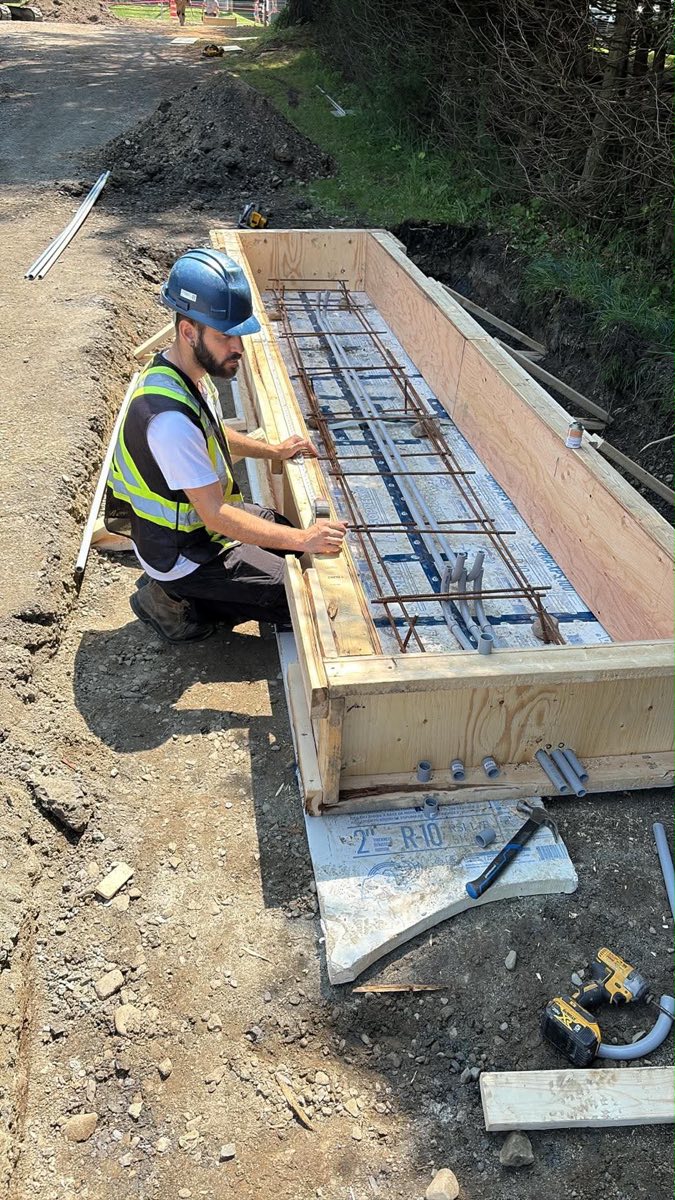
Lexoh field worker positioning conduits inside equipment base formwork
02 — Formwork and conduits Positioning the conduits and checking their layout before concrete placement.
Reinforcement and conduit entries prepared before pouring a concrete equipment base
03 — Reinforced equipment base Reinforcement, insulation and conduit entries prepared inside the formwork.
New concrete slab with protected conduits for access control equipment
04 — Concrete placement Finished slab with protected conduit entries ready for the equipment installation stage.
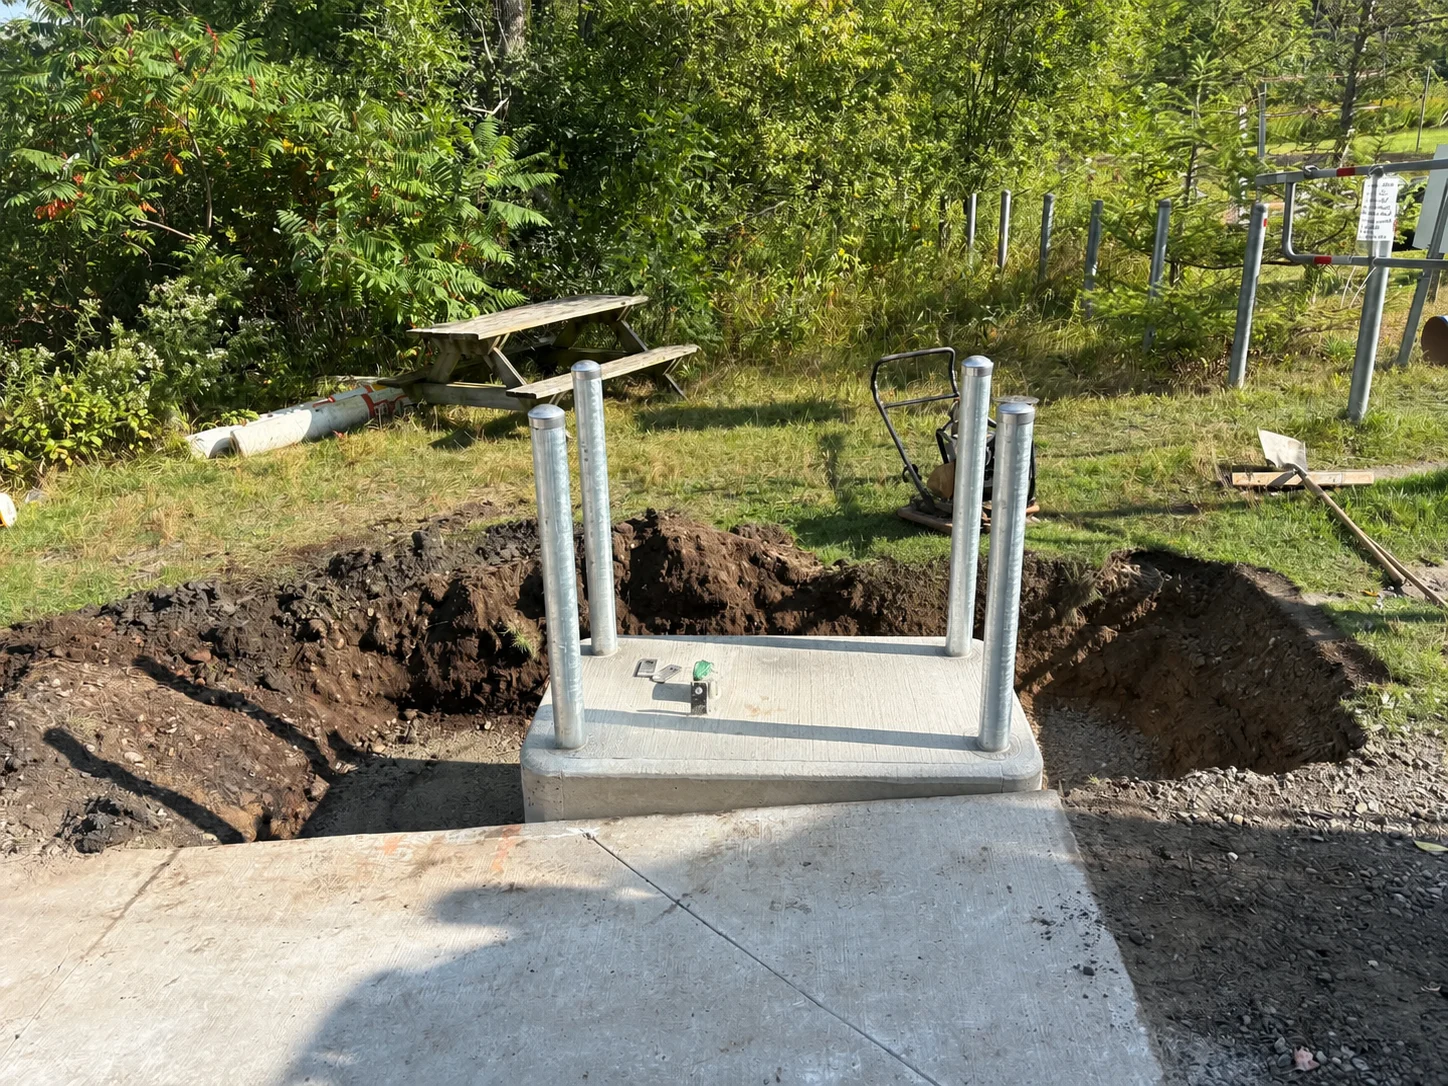
Prefabricated concrete island with protective bollards before access equipment installation

Prefabricated access island

Lexoh handles the turnkey installation: excavation, island installation, electrical connection, equipment installation, configuration and commissioning.
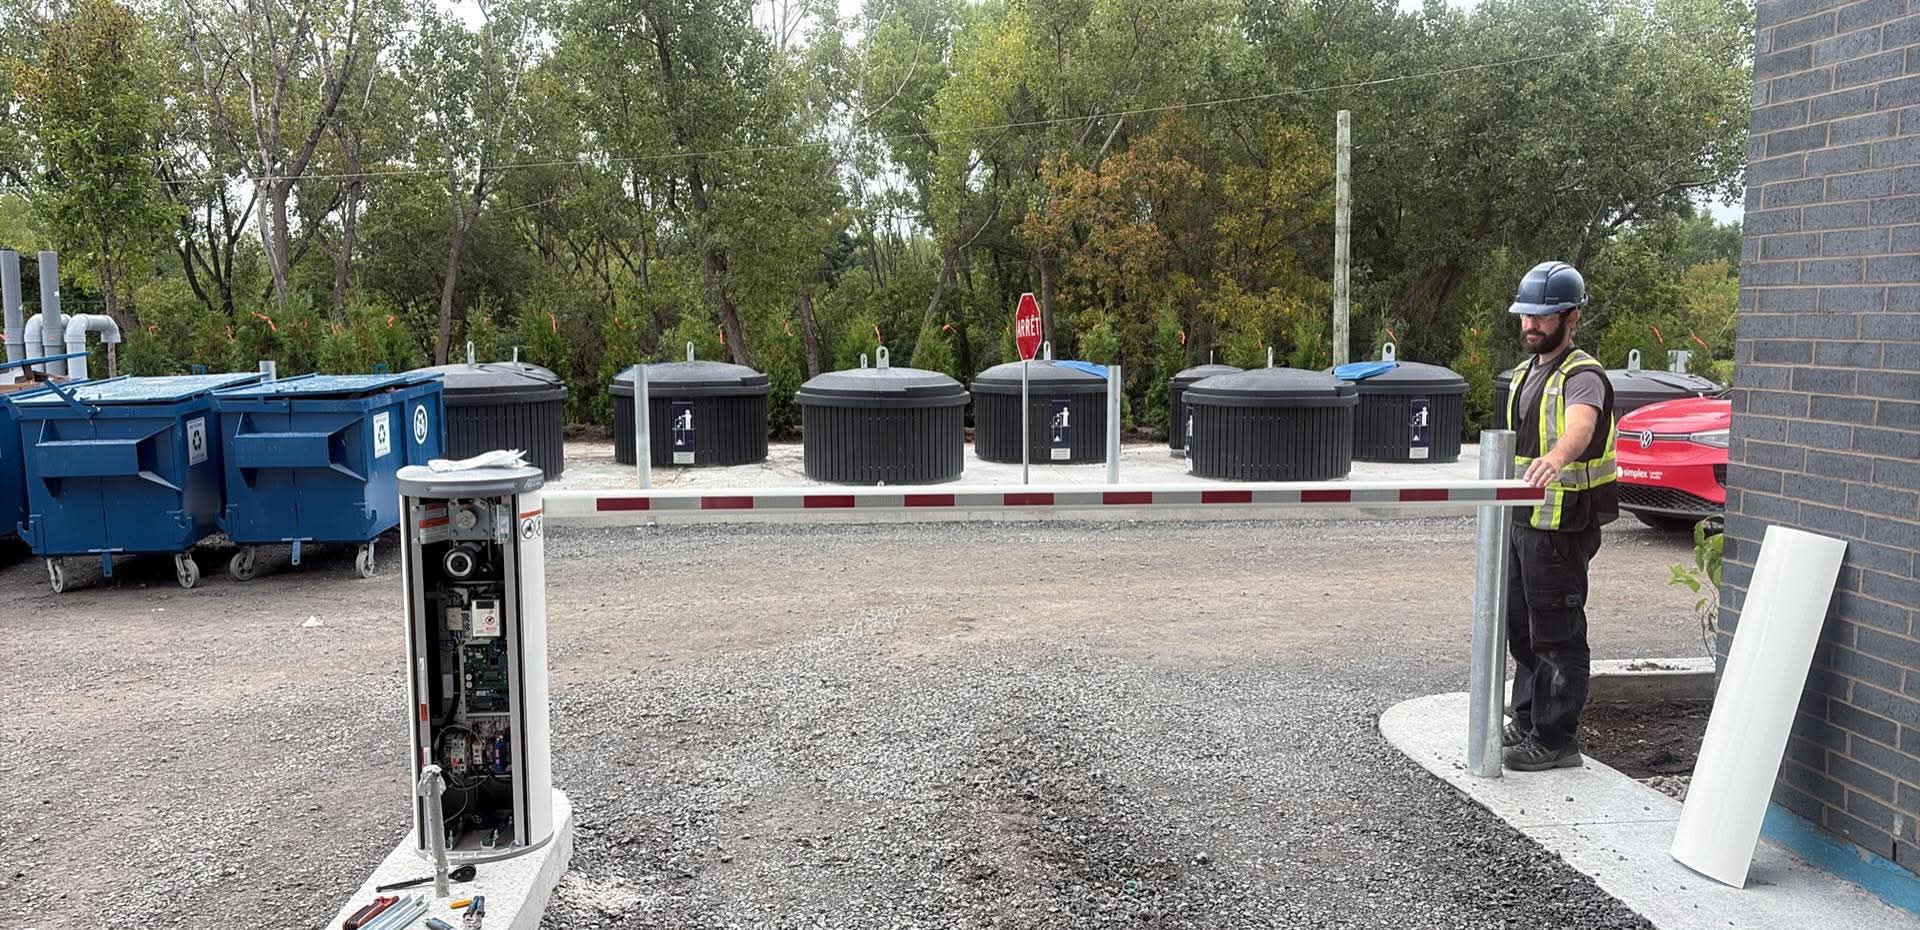
Technician beside an automatic barrier with an open cabinet and a horizontal arm
Field work on an automatic barrier
On site

Installation work documented in the field

The project archive shows site preparation, equipment placement and completed controlled lanes in their operating context.

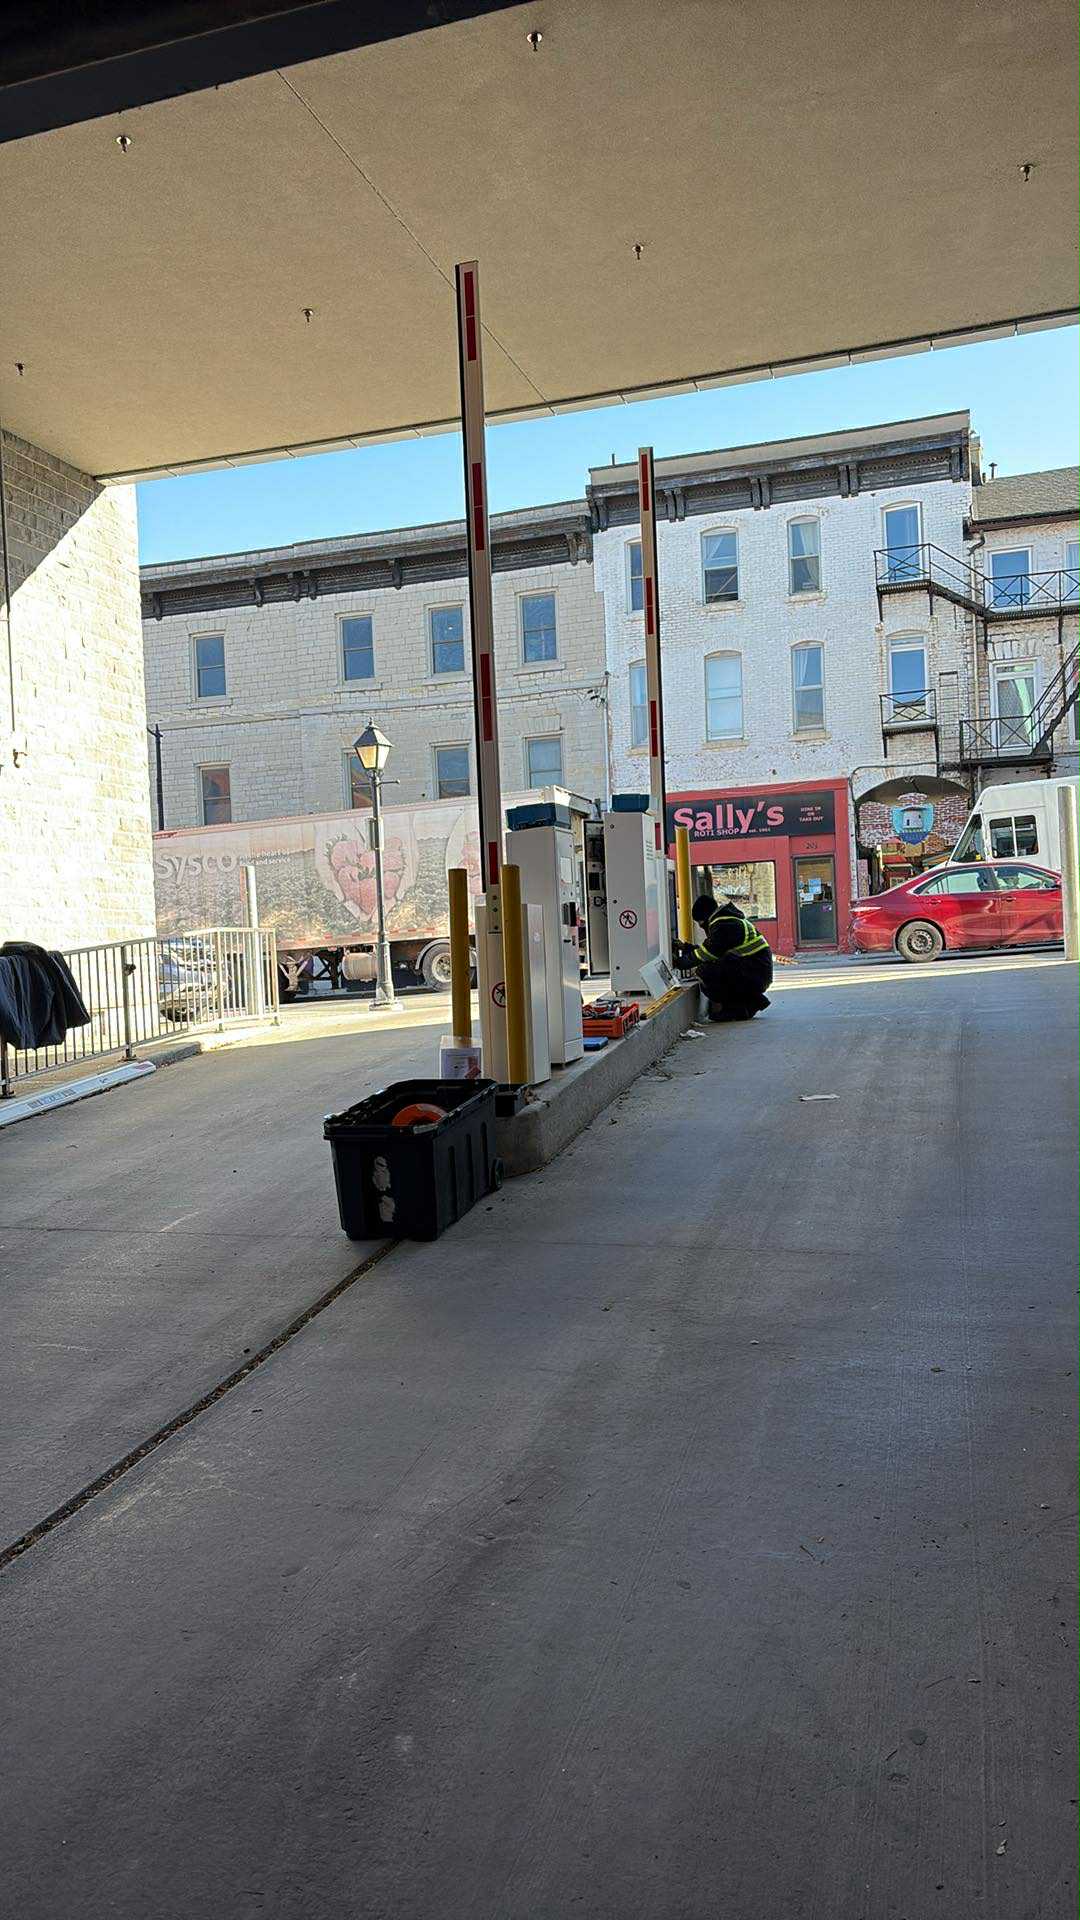
Technician commissioning parking equipment at Scotiabank Kingston
Scotiabank — KingstonField installation and commissioning
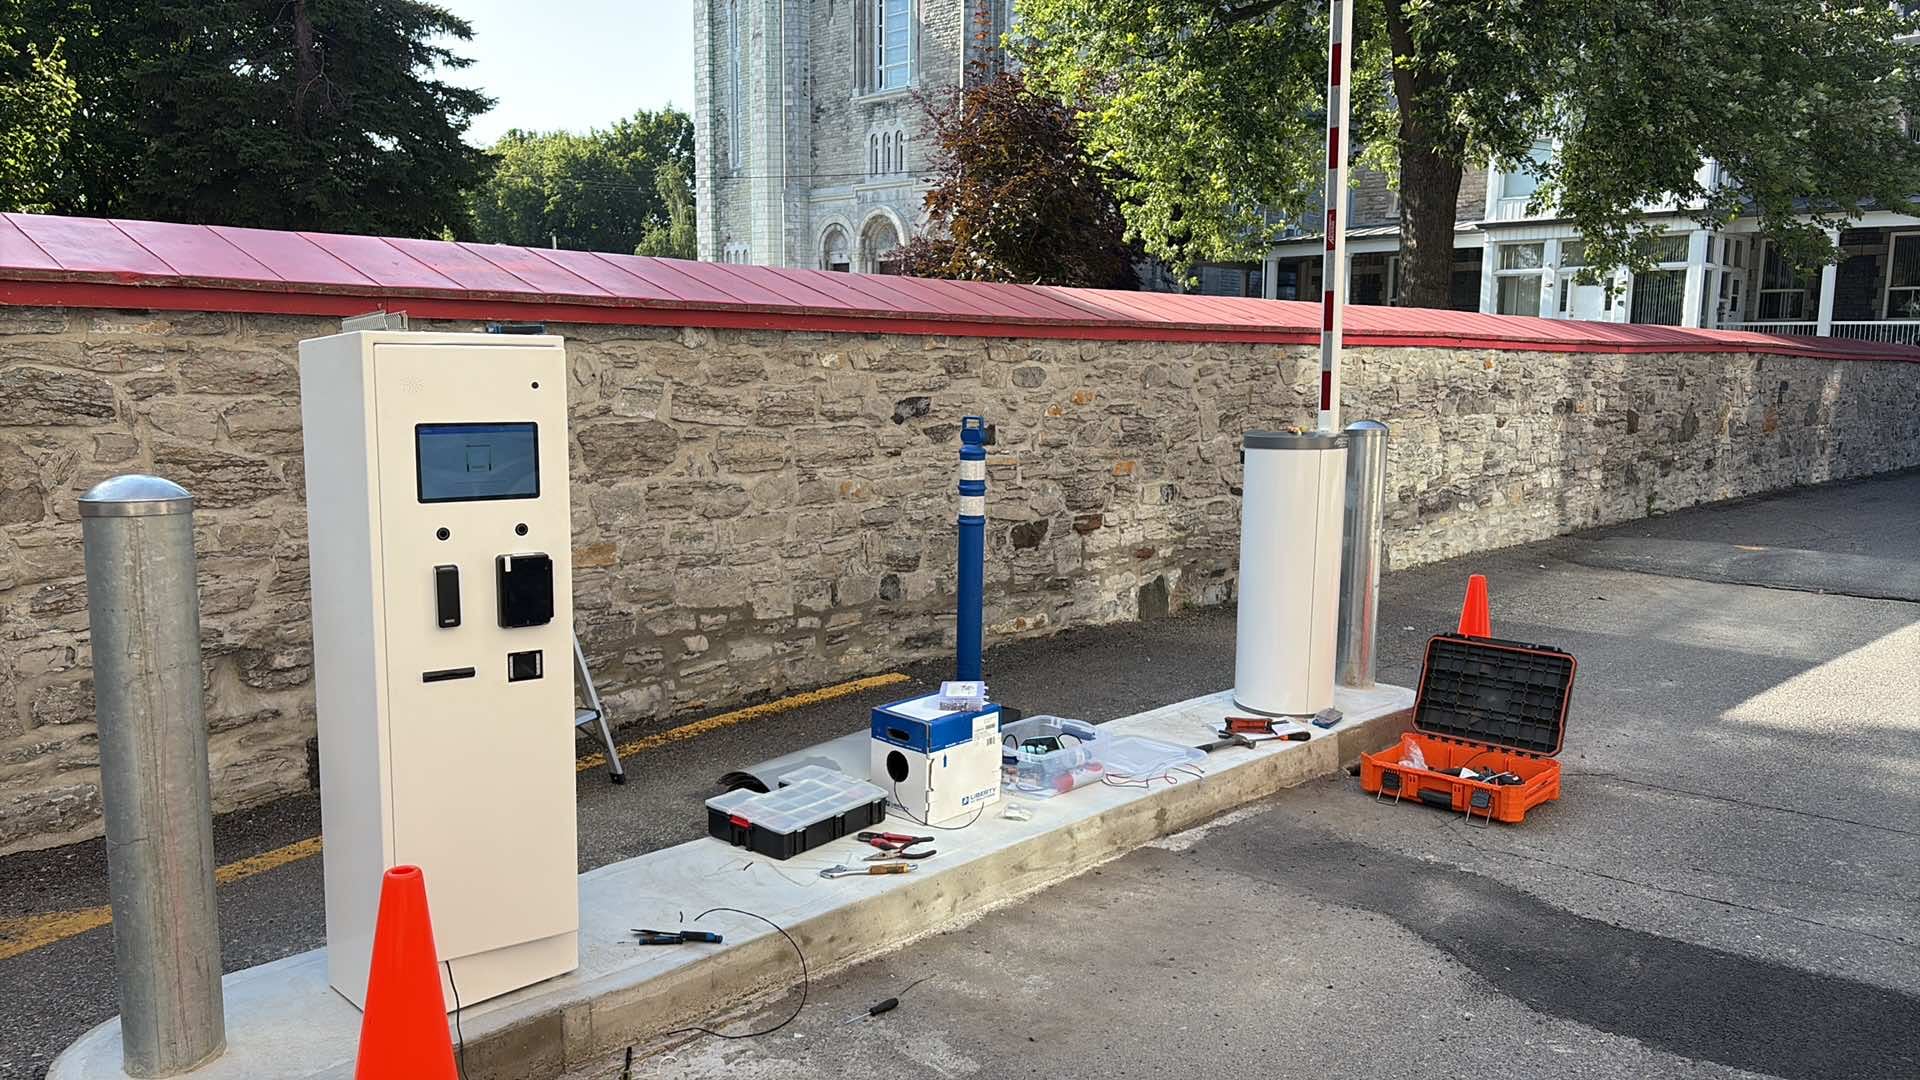
Tools, kiosk and barrier during commissioning at Collège Sainte-Anne
Collège Sainte-AnneCommissioning on the completed lane
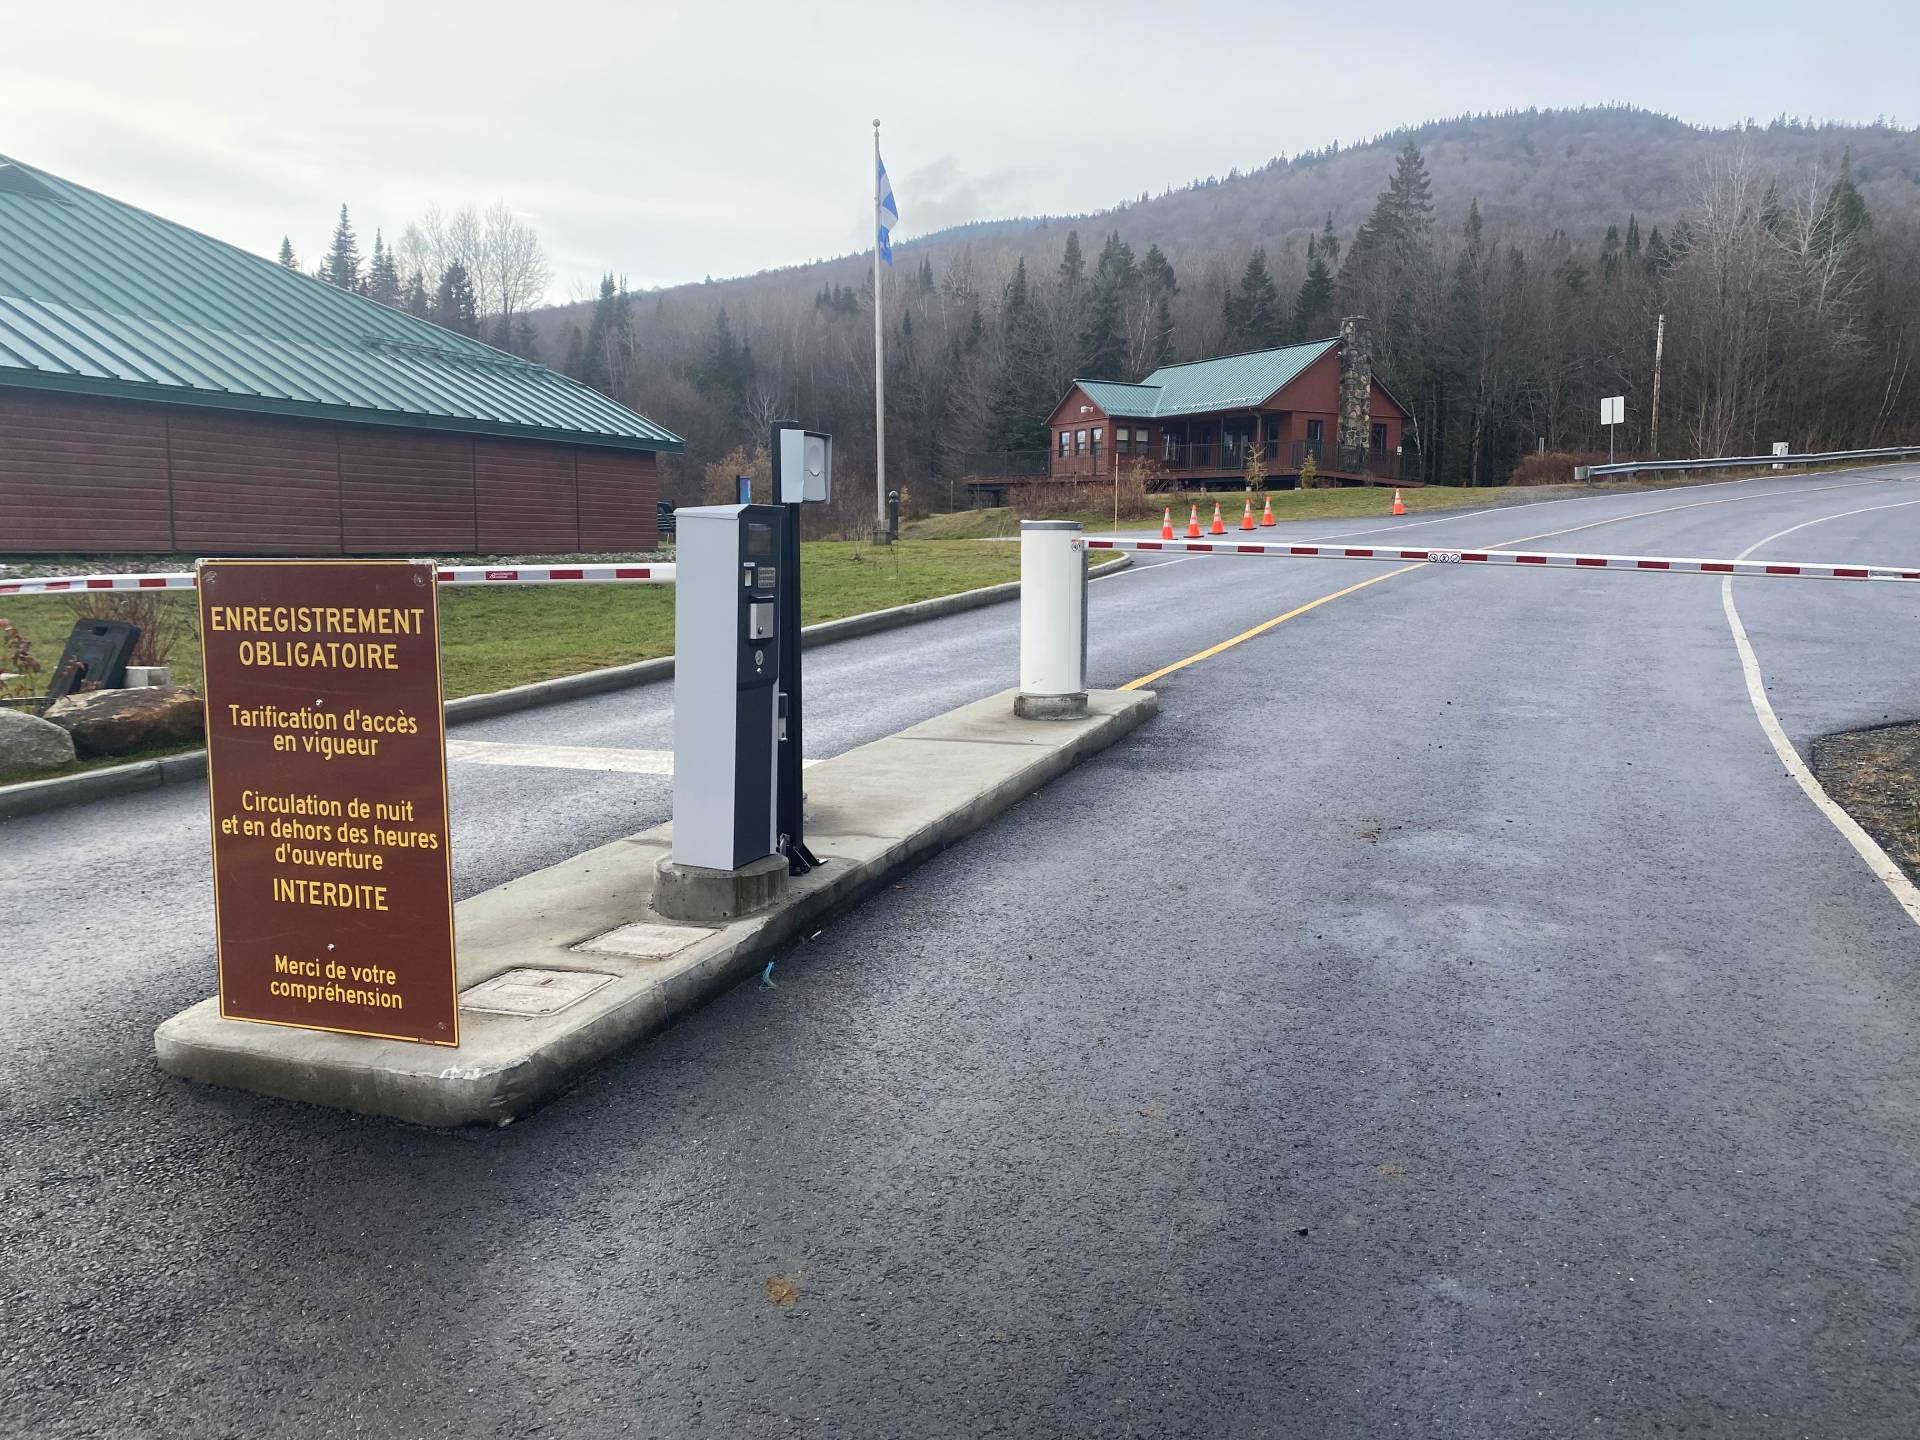
Automatic barrier and access kiosk at Sépaq Mont-Mégantic
Sépaq — Mont-MéganticCompleted outdoor visitor lane
System operation

How an automatic parking barrier system works

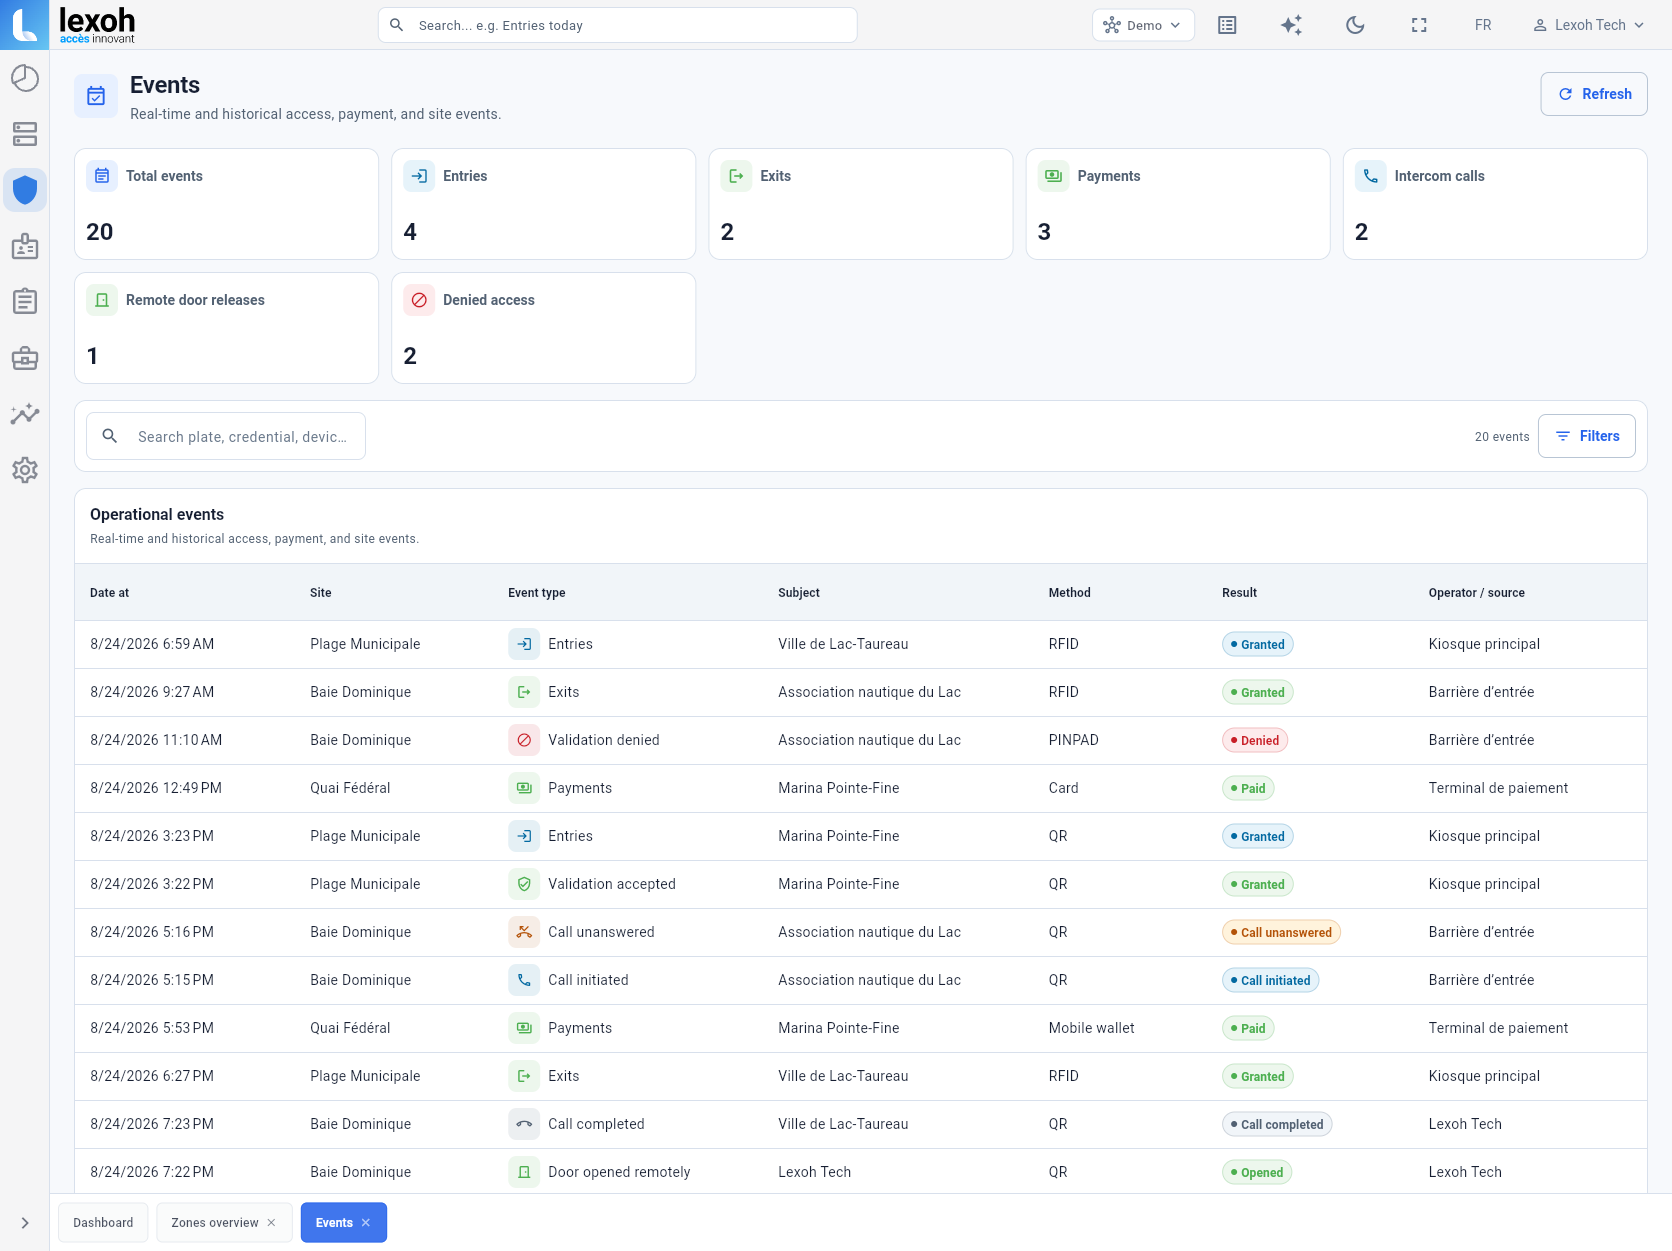
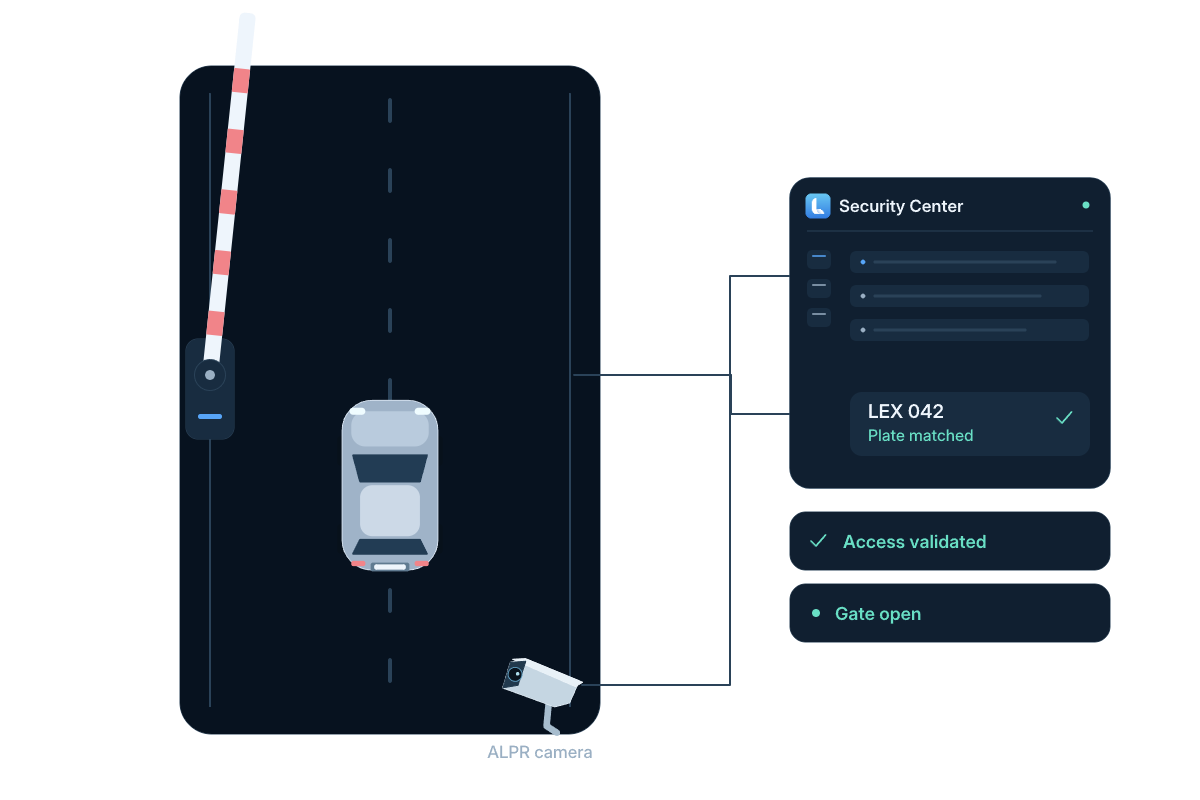
The lane identifies the vehicle or user, validates the applicable authorization, controls the barrier and records the result. Vehicle detection protects the movement and confirms when the lane is clear.
Read workflow steps
  1. Identify

    RFID, UHF, plate, QR, intercom or payment

  2. Validate

    User, permit, schedule or transaction

  3. Authorize

    Apply the configured access rule

  4. Control

    Operate the automatic barrier

  5. Protect and record

    Detect the vehicle and log the event

Access decisions and equipment actions remain in the operational record.

View actual Lexoh interface
Full-size image

Flexible identification

Access methods to evaluate for the site

RFID card

A card workflow can be selected when the reader, credential format and user procedure are confirmed.

UHF vehicle credential

A vehicle-tag workflow can be evaluated against the required read point, lane geometry and selected equipment.

License plate recognition

A registered plate can act as the identifier when capture conditions, rules and fallback procedures are approved.

Visitor QR code

A temporary QR credential can be considered with a defined issuer, validity period and reader.

Intercom

An assistance point can connect the lane to an authorized operator under the approved call procedure.

Payment kiosk

Payment can be included at entry or exit when the transaction and validation workflow is part of the project.

Controlled movement

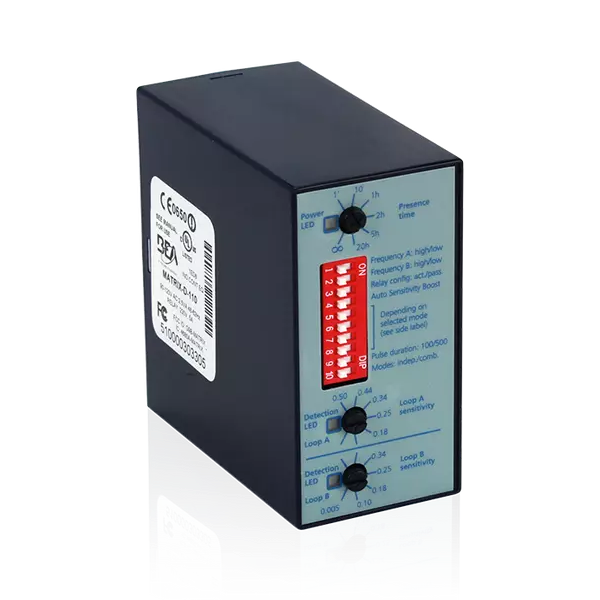
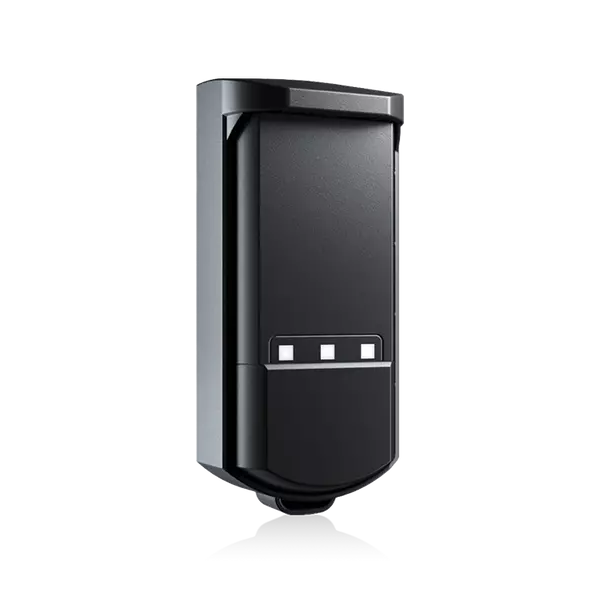
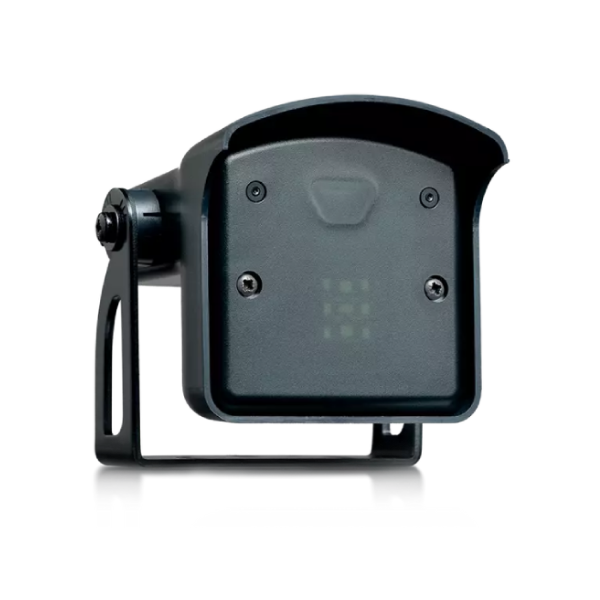
Vehicle detection and safe closing logic

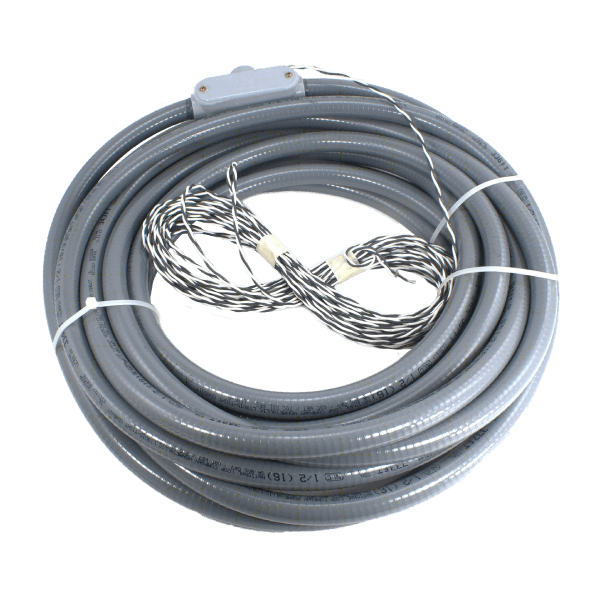
The selected detection method needs to match the lane geometry, pavement and operating conditions. Presence detection, barrier position and closing behavior are defined and tested with the selected equipment before acceptance.
  • Presence and passage detection
  • Opening and closing sequence
  • Emergency and exceptional operation
  • Lane-specific testing before commissioning
Induction loop used for vehicle detection at an automatic barrier
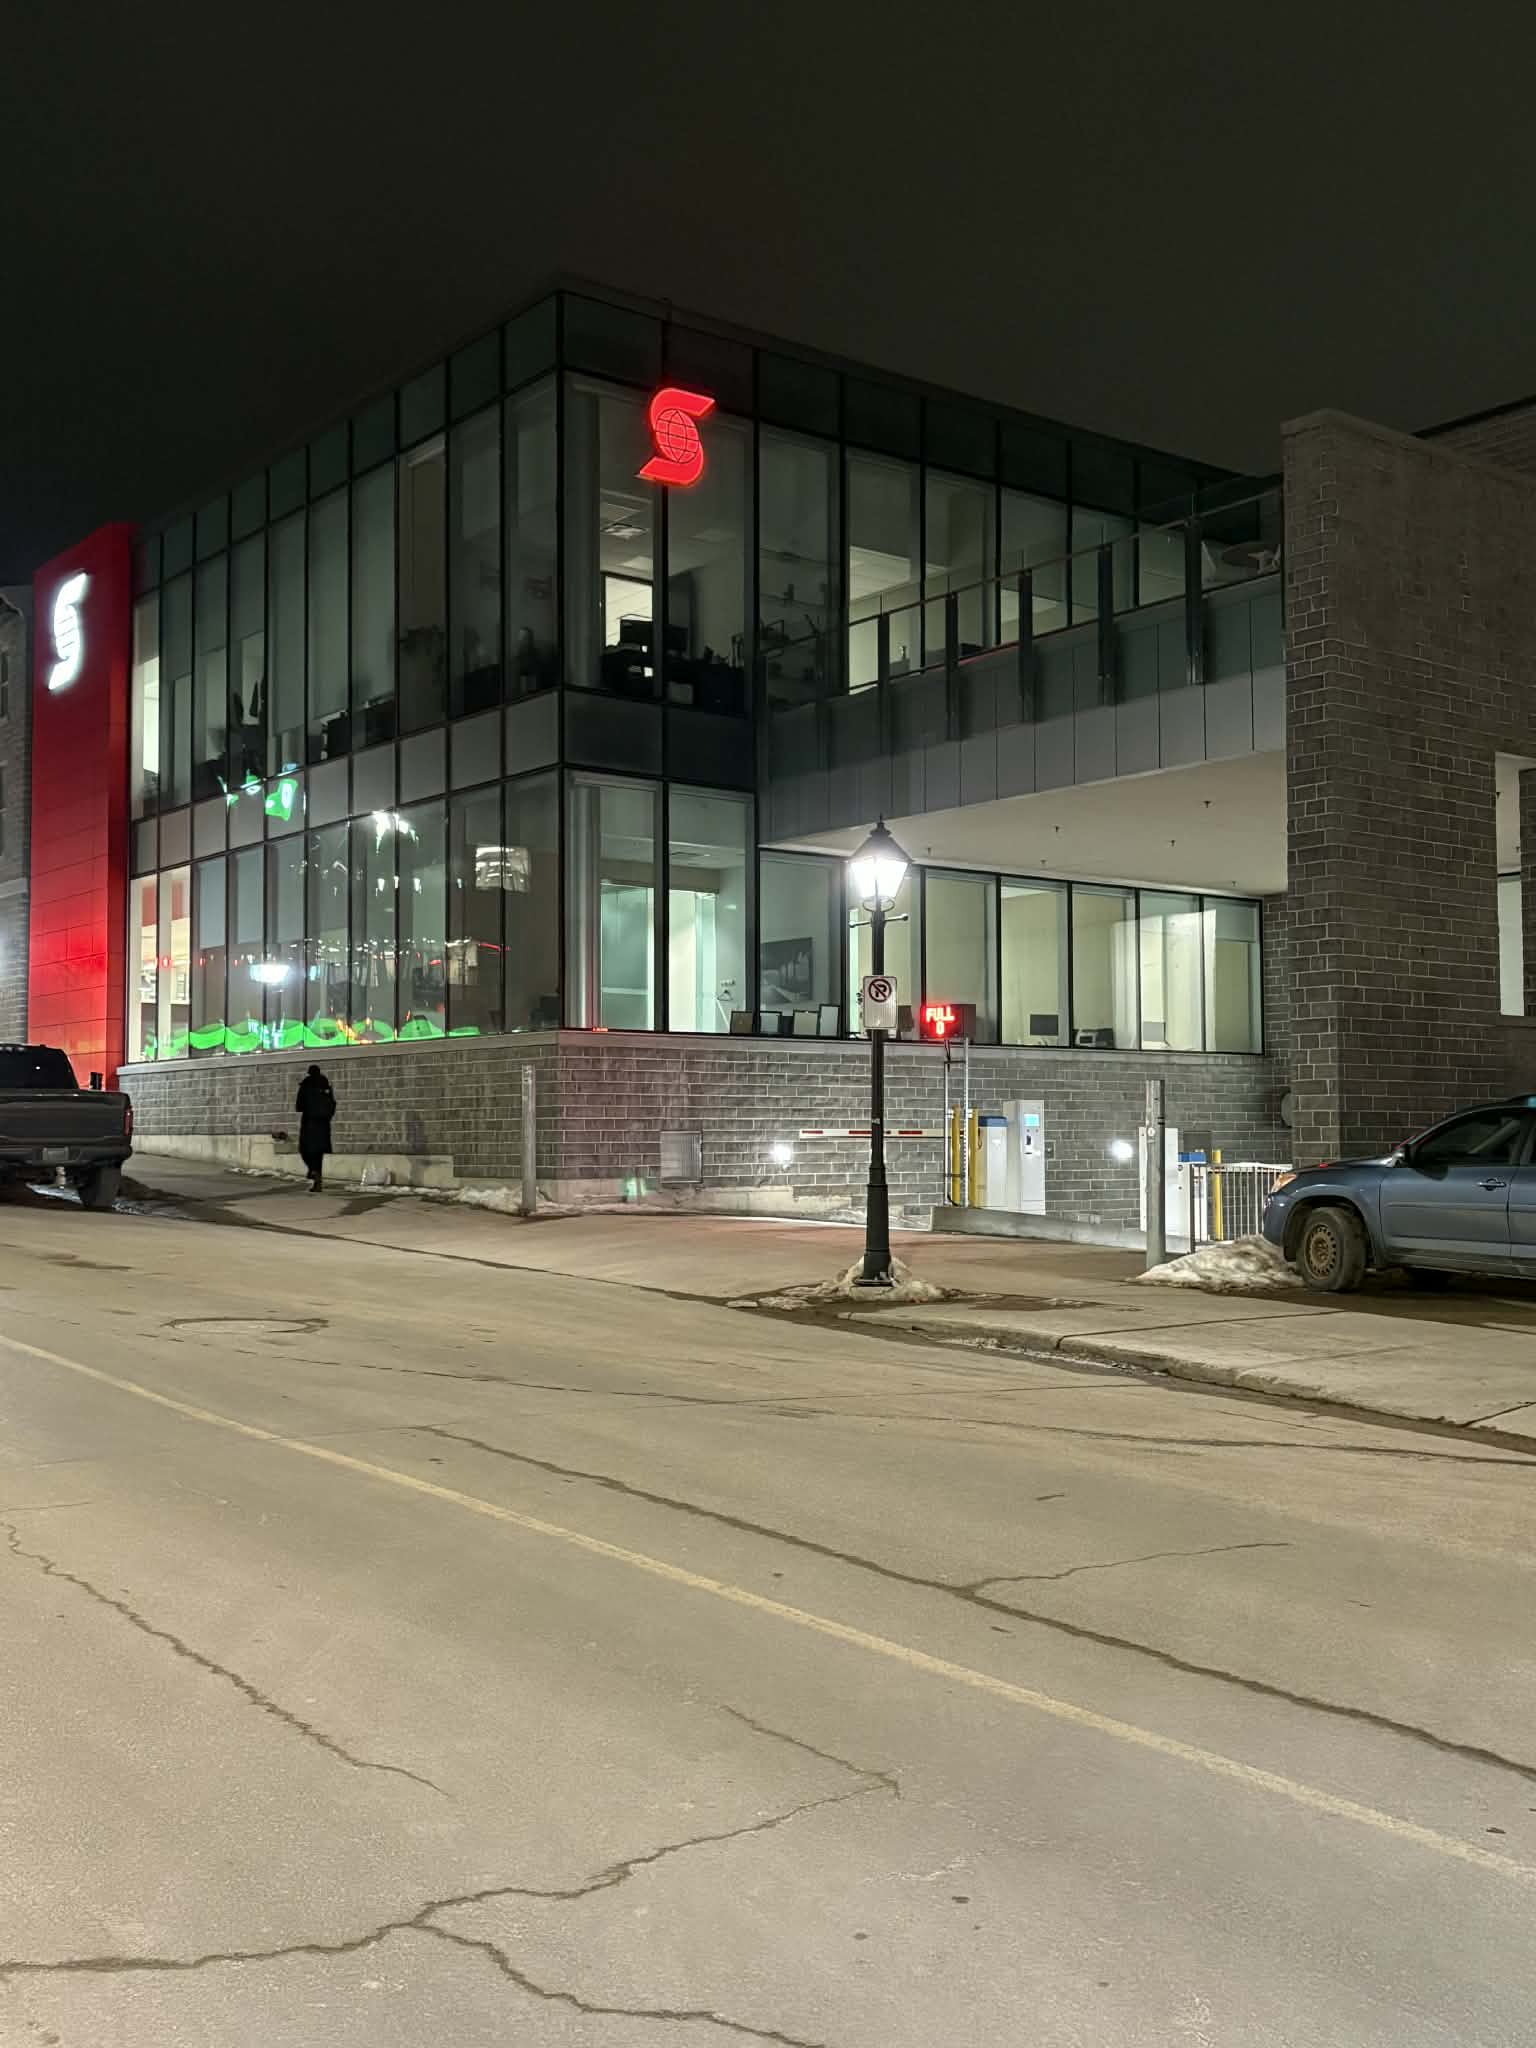
Scotiabank automatic parking system operating during winter
Cold-climate planning

Planning an automatic barrier for Québec conditions

Winter reliability starts in the site design. The project should account for drainage, snow-clearing envelopes, ice, road salt, equipment temperature ratings, detector installation, protected conduit routes, power interruptions and the operating procedure during severe weather.

Operating temperature, enclosure protection and duty cycle depend on the barrier model selected for the site.
Read the lane plan

Five positions to resolve before equipment is ordered

Mark these positions on the actual site plan. Use the selected model’s dimensioned drawings to confirm the arm movement and installation clearances.

  1. 01

    Approach and waiting

    Show where vehicles queue, turn and receive instructions before committing to the lane. Include the largest expected vehicle.

  2. 02

    Driver interaction

    Locate the stopping point and the reader, kiosk or intercom the driver must reach. Check the actual vehicle and any trailer.

  3. 03

    Controlled movement

    Overlay the arm’s complete motion, the detection areas and the functions specified in the approved protective sequence.

  4. 04

    Departure

    Show how the vehicle clears the controlled area and where the next road, garage door or decision point begins.

  5. 05

    Service and pedestrian routes

    Keep maintenance access, snow-clearing space and the planned pedestrian path visible on the same drawing.

Confirm the responsible party in the project scope
Work itemResponsibility to assignEvidence before the next stage
Civil preparationSurvey, bases, conduits, drainage and reinstatementApproved site/model drawings and completed-work review
Power and communicationsSupply, circuits, network and maintained serviceConfirmed requirements and connection checks
Field integrationBarrier, detection, readers and operating sequenceEquipment references and configuration record
Operating handoffStaff roles, training, documents and supportAcceptance record and assigned open items

The Scotiabank Kingston photographs show separate lane islands and cleared vehicle paths under winter conditions. Use that field context to discuss snow storage and service access on your own plan. View the Kingston installation ↗

Technical selection

Choose the system first, then the barrier model

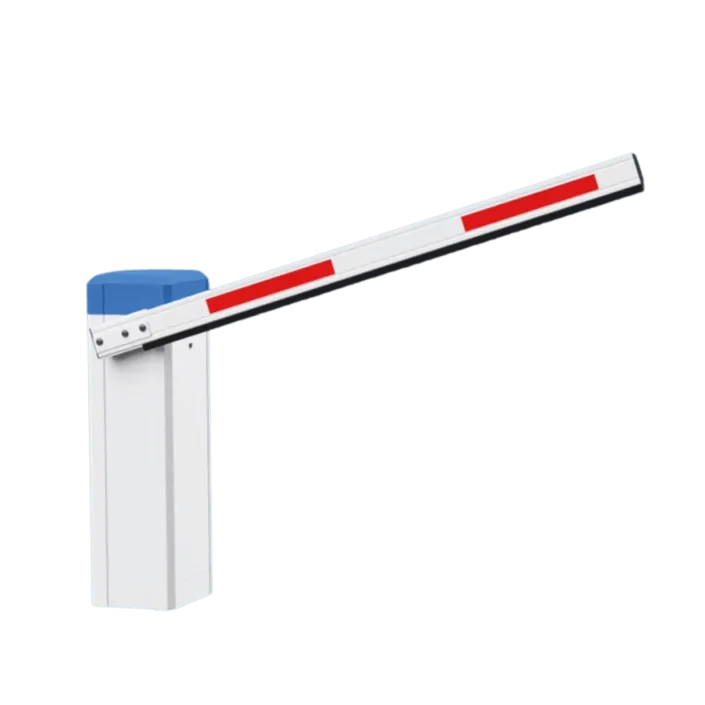
Lane width, traffic volume, arm length, opening speed, duty cycle, enclosure rating and emergency operation determine which barrier configuration fits the project. Model-specific specifications remain in the equipment catalog.

Compare automatic parking barrier configurations and technical criteria
Project schedule

Plan the work before setting an installation date

There is no reliable universal lead time. The schedule is confirmed after the site conditions, responsibilities, equipment availability and approval process are known. A replacement on prepared infrastructure is not planned like a new entrance requiring excavation and concrete.

Review the planning sequence
Project budget

Automatic barrier pricing: what the project budget actually covers

A useful quote separates the equipment price from the work required to deliver an operational lane. This makes options easier to evaluate and prevents civil work, communications or commissioning from appearing as late surprises.

01

Lane and barrier

Lane width, arm length, opening speed, traffic frequency and required accessories determine the barrier configuration.

02

Vehicle detection

The pavement, lane geometry and desired safety sequence determine whether loops, above-ground detection or combined devices are required.

03

Driver interaction

RFID, UHF, plate recognition, QR, payment and intercom do not require the same equipment, mounting or software configuration.

04

Site preparation

Excavation, concrete bases, protective posts, drainage, conduits and reinstatement depend on the existing site.

05

Power and communications

Available circuits, cable distances, network access, fibre, cellular backup and local control affect the installation scope.

06

Commissioning and service

Testing, operator training, documentation, warranty scope and the selected support plan complete the project budget.

What affects the cost of an automatic barrier project?
The total project depends on the number of lanes, existing site infrastructure, preparation work, barrier model, vehicle detection, access method, payment or intercom equipment, software configuration, commissioning and service requirements.
Realistic scheduling

How long does an automatic barrier installation take?

There is no reliable universal lead time. The schedule is confirmed after the site conditions, responsibilities, equipment availability and approval process are known. A replacement on prepared infrastructure is not planned like a new entrance requiring excavation and concrete.

01

Definition

Map the lane and user journeys, including access methods, exceptions and operating requirements.

02

Survey and coordination

Validate dimensions, utilities, drainage, communications, permits and work assigned to each trade.

03

Submittals and supply

Approve the selected models, drawings, options and model-specific technical documents before procurement.

04

Site work

Complete civil, electrical and communications work, including curing or inspections when applicable.

05

Installation and configuration

Install field equipment, connect devices and configure the access and management rules.

06

Acceptance

Test normal traffic, safety detection, assistance, outages and emergency operation before handover.

Site interfaces

Civil work, electrical power and network requirements

The barrier cannot be designed independently from the site. Before equipment is ordered, the project needs a documented answer for each of these interfaces.

01

Lane geometry

Approach, turning radius, stopping position, clearance, arm sweep and exit path.

02

Concrete and protection

Bases, reinforcement, anchoring, islands, bollards and finished elevations.

03

Drainage and snow

Water flow, ice exposure, snow storage and access for clearing around equipment.

04

Electrical power

Available voltage, dedicated circuits, disconnects, grounding, surge protection and outage behaviour.

05

Communications

Ethernet, fibre or cellular path, cable distances, protected conduits and local connectivity.

06

Existing systems

Fire, building access, garage doors, intercom, payment or management systems that exchange commands or status.

Project accountability

A scope that states who does what

Turnkey does not mean that every site has the same work. The project scope identifies what Lexoh supplies, installs or coordinates, what existing infrastructure will be reused, and what remains under the responsibility of the owner or another trade.

01

Confirmed site conditions

Lane geometry, traffic path, available power, communications, drainage and existing equipment are recorded before final selection.

02

Defined responsibilities

The proposal separates Lexoh work, coordinated work and owner-supplied work so that no critical interface is left implicit.

03

Model-specific submittals

Arm length, cycle time, power, enclosure, temperature range and accessories are tied to the selected equipment documentation.

04

Acceptance sequence

Identification, detection, opening, protected passage, closing, assistance and outage scenarios are tested against the approved operating sequence.

Existing equipment

Modernizing an existing barrier or controlled entrance

An existing barrier does not automatically need to be discarded. The first step is to determine which components remain serviceable and which interfaces prevent the lane from meeting current operating needs.

  • Condition audit : Record the barrier model, arm, controller, detection, readers, cabling, bases and available replacement parts.
  • Compatibility review : Match the existing controller’s command and status interfaces to the proposed access or parking system.
  • Safety validation : Retest presence detection, protected passage, closing logic and emergency operation instead of assuming the old sequence is adequate.
  • Cutover plan : Plan temporary access, data migration, credential transition and return-to-service testing to reduce disruption.
Service planning

Preventive maintenance and winter operation

Maintenance is based on the selected barrier, its cycle count and the environment. The operating team also needs simple checks that identify a problem before the lane becomes unavailable.

  • Routine observation : Check arm alignment, unusual noise, cabinet condition, reader response and the area around the safety detection.
  • Scheduled service : Inspect mechanical wear, fasteners, seals, electrical connections and safety devices according to the selected model documentation.
  • Winter readiness : Clear snow without striking detectors or bases, control ice accumulation and keep drainage and the arm movement envelope open.
  • Event review : Use device status and event history to distinguish a mechanical fault, a detection issue, a credential refusal or a communication outage.
Before requesting a quote

What to send for an accurate project quote

A first review can move much faster when the request describes the lane and the operating problem, not only the desired product.

Configure my project
  1. 01

    Photos of the approach, stopping point, controlled opening and area beyond the barrier.

  2. 02

    Approximate lane width, available arm length and distances to the electrical or network room.

  3. 03

    Expected users: employees, tenants, subscribers, visitors, deliveries or paying customers.

  4. 04

    Preferred credentials and the procedure when a driver cannot complete the normal journey.

  5. 05

    Existing barrier, readers, loops, intercom, payment equipment, software and building integrations.

  6. 06

    Desired work period, access constraints and any requirement to keep the entrance operating during the project.

Automatic parking barrier questions

Practical answers for planning, installing and operating an automatic barrier system.

Start with the lane, the users and the operating requirements

Lexoh can review the site and define the applicable lane system before equipment is selected.
Call Lexoh 1-888-401-8019