


Quick Start Overview
Follow the initial software setup, device connection and validation steps. Complete the physical installation and network preparation before beginning this guide.
What to verify
- Account access to the correct organization and site
- First compatible device identified and connected
- One agreed access workflow tested, including a denied request
- Device status and corresponding events checked
- Open issues recorded before the site handover
Quick Requirements Check
Verify you have these essentials before starting the setup process.
Cloud management uses internet. The mesh network lets site devices communicate with one another without internet, while power remains available. This conceptual diagram shows three devices; it does not represent the wiring or device count required for your site.
Use the connectivity, bandwidth and permitted destinations specified for your deployment. Obtain the network requirements from your integrator before changing firewall rules. Lexoh combines cloud management with offline device-to-device communication through a local mesh network. Plan the cloud connection and local network separately; offline operation still requires power.
A supported device and any required controller or gateway, with model and serial number recorded
Power supply and wiring confirmed by the installer against the exact equipment documentation
Network connection prepared for the device or its controller, according to the approved installation plan
Ability to create accounts and configure system settings
LEXOH Account Setup
Use the account and organization access prepared for your Lexoh installation.
Step 2.1: Check Account Access
- Visit app.lexoh.com
- Use the account details or invitation provided for your organization
- Check that your account can access the organization and site you will configure
- If access is missing, contact your organization administrator
- Have your organization and site information ready for configuration
Step 2.2: Essential Configuration
- Site Name: Confirm the correct facility and check its name on any enabled tickets and reports
- Time Zone: Set your local time zone for accurate logging
- Contact Info: Add support contact details
- Basic Settings: Review permissions, access rules and enabled services against the approved site configuration
Connect Your First Device
Confirm that the installer has completed the physical installation, then verify the connection used by the device or its controller.
Step 3.1: Installation Handover
- Power Off: Have the installer confirm the required isolation procedure before any wiring or physical intervention
- Mount Device: Confirm mounting and clearances have been checked against the installation plan
- Connect Power: Have the installer confirm the supply rating and connections for the exact model; do not infer them from the device category
- Network Connection: Identify the network connection of the device, controller or gateway in the equipment list
- Power On: Follow the model-specific startup procedure and record any fault indication
Step 3.2: Network Discovery
- Interpret status indicators using the device manual; indicator colors are not universal
- Record the network device’s hardware address (MAC) and its associated equipment label
- For automatic addressing (DHCP), ask the network administrator to confirm the assigned IP address
- For a static IP address, use the approved address plan and the model-specific configuration procedure
Register & Configure Device
Use the registration procedure supplied for your device type and installed Lexoh version. Available fields and menu labels can vary.
Step 4.1: Device Registration
- Log in to your LEXOH dashboard
- Open the device-management area available to your account; request the version-specific procedure if it differs from this guide
- Confirm the supported device type and required controller or gateway
- Enter device name (e.g., "Main Entrance Camera")
- Enter the identifiers and connection details required by that device’s registration procedure
- Assign the intended site and zone; check that the assignment matches the physical entrance
- Save the configuration, read the reported status and investigate any connection error
Step 4.2: Quick Device Setup
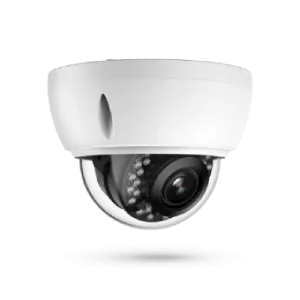
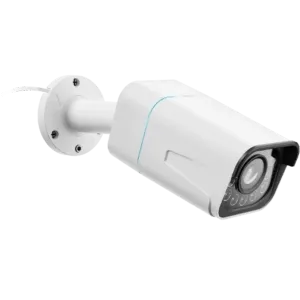
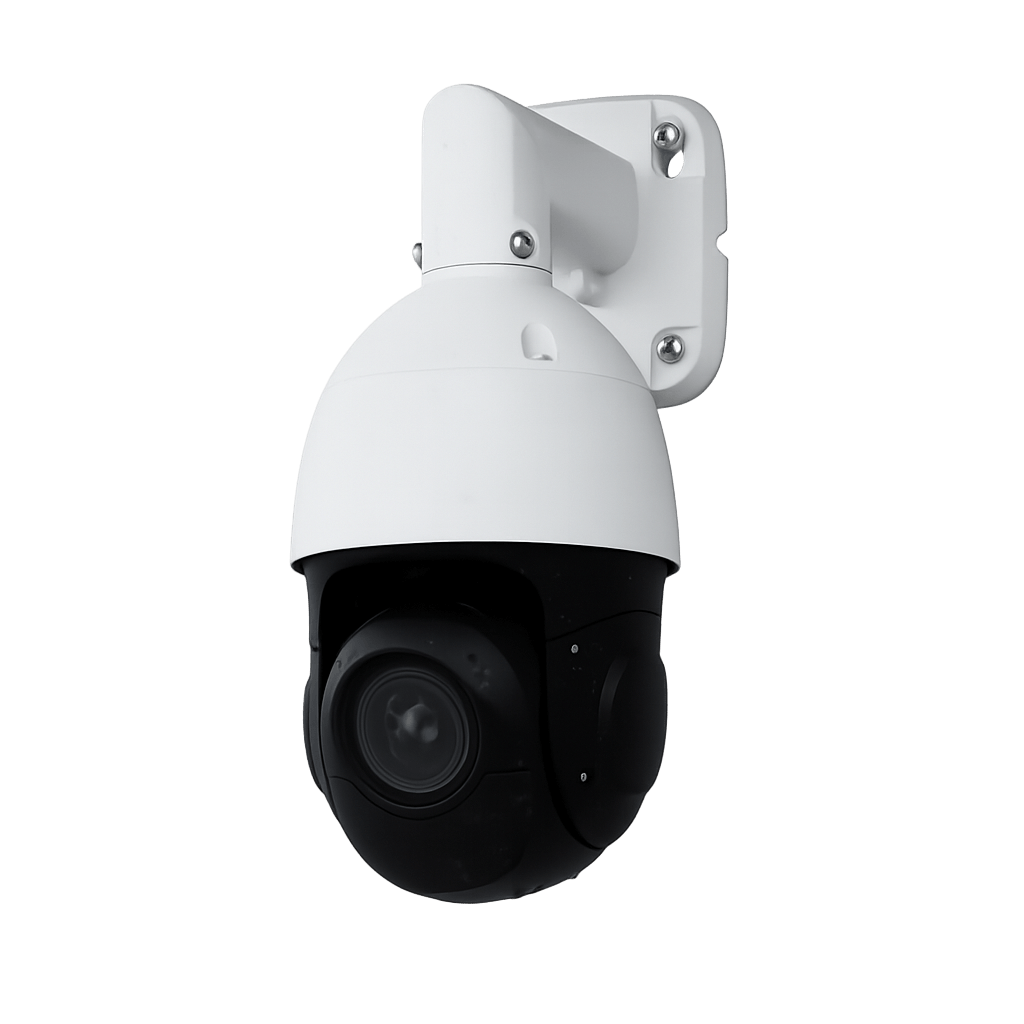
For IP Cameras:
- Use the image settings agreed for the scene and recording needs
- Configure only the events required for the site, then test them in the actual scene
- Verify the expected live image and permitted viewing access in the configured application
For Card Readers:
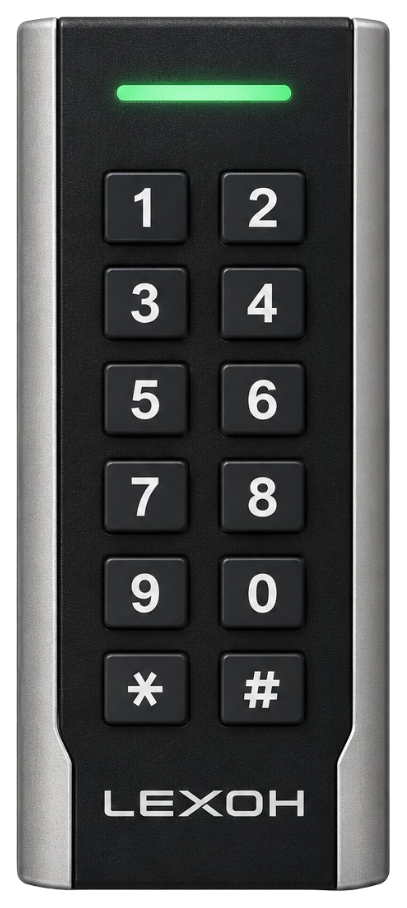
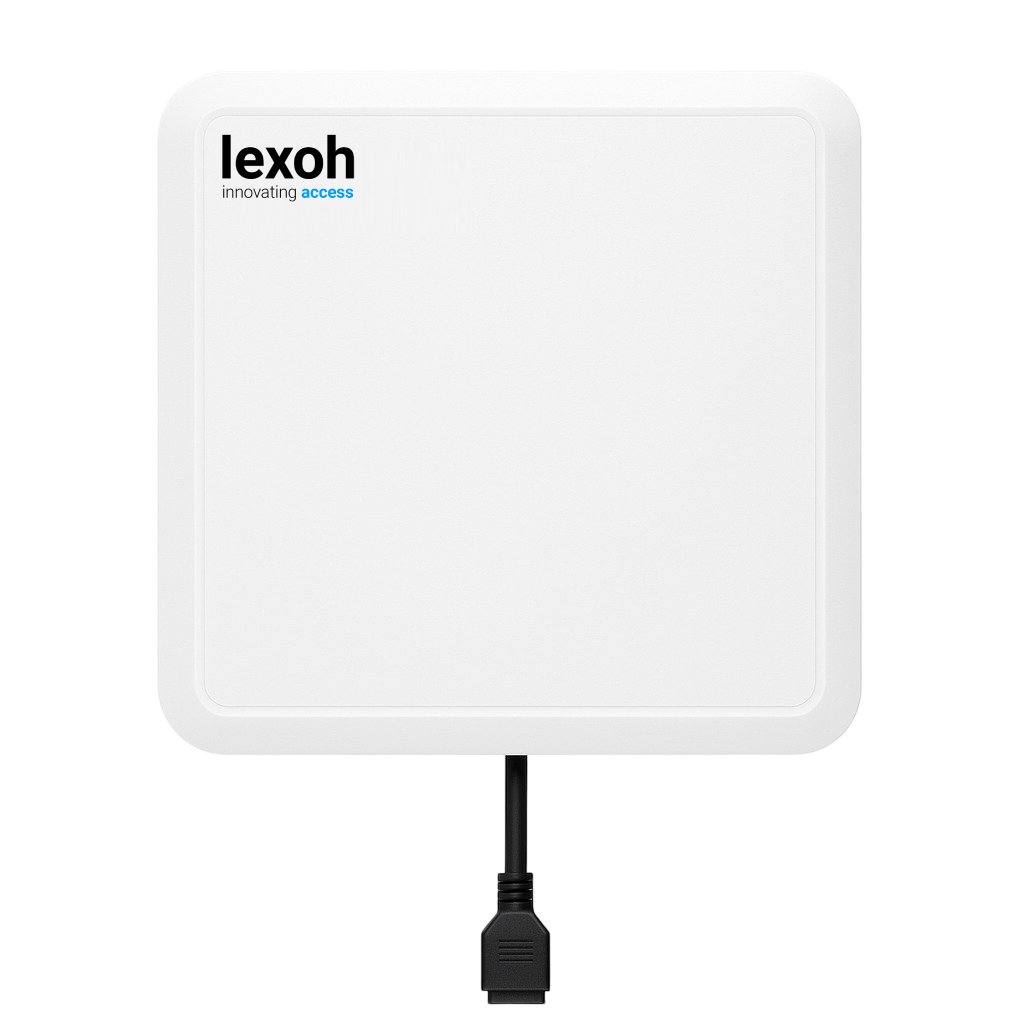
- Confirm the supported credential format and reader/controller interface
- Assign the intended entrance, exit and access rules
- Test an authorized credential and a credential that should be refused; check the corresponding events
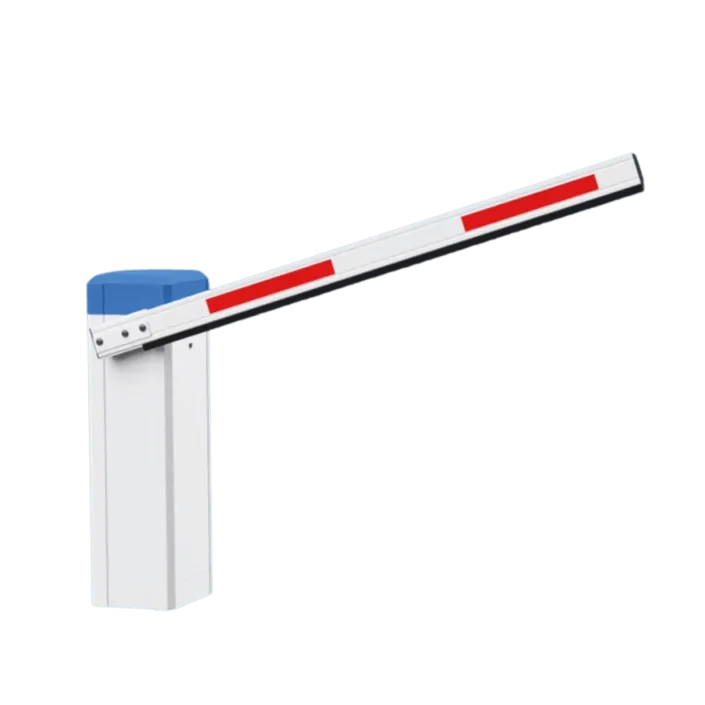
For Parking Barriers:
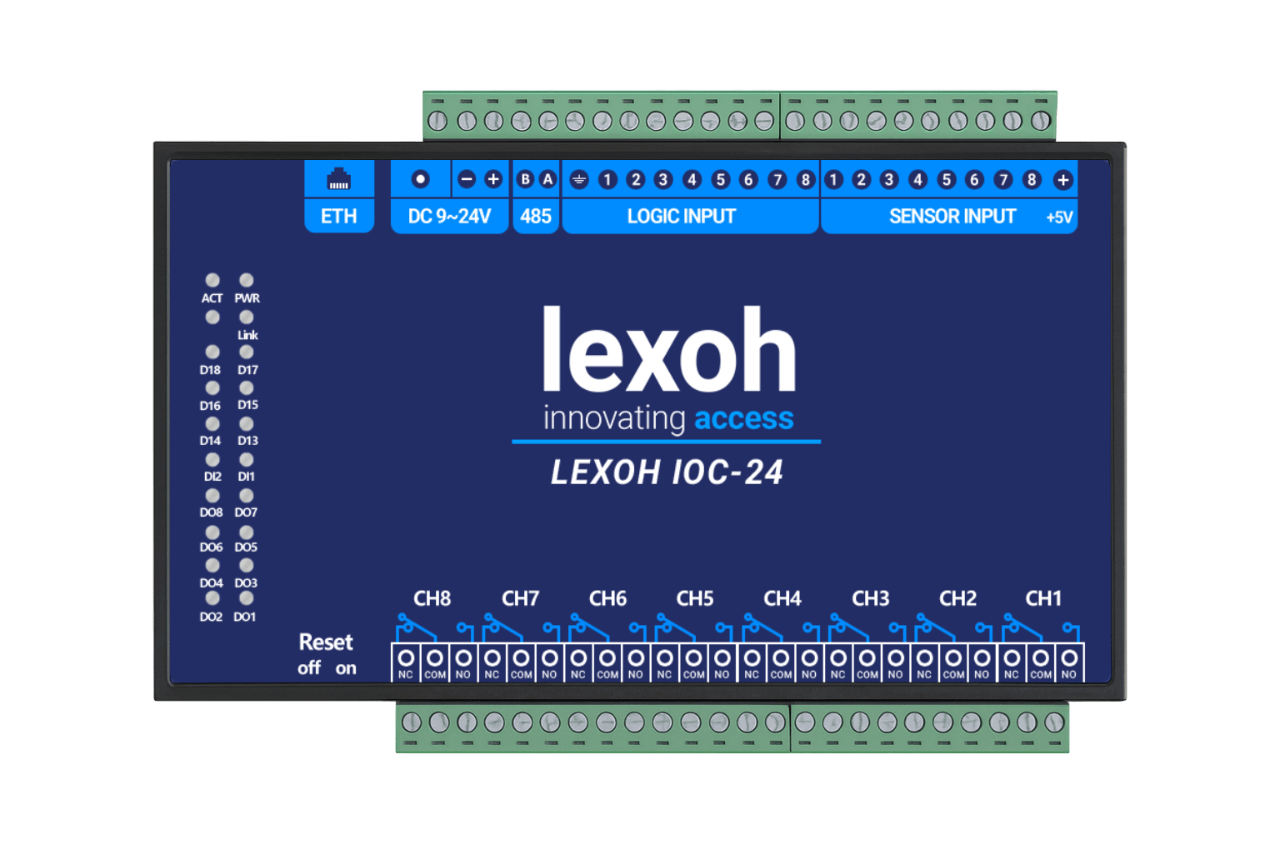
- Record the installed barrier and controller models, including the interface used by Lexoh
- Have the installer verify movement settings and protective devices using the manufacturer’s commissioning procedure
- Test authorized commands and protective behavior in a controlled lane with the installer
Test Basic Functionality
Verify your device is working correctly before going live.
Essential Tests
Check only completed checks that apply to your installation. These selections are not saved; record the results, date and responsible person in your site acceptance record.
Go Live & Next Steps
After the agreed acceptance checks and site authorization, plan the supervised start of operations.
Immediate Actions
- Monitor Dashboard: Assign a person to monitor the initial operating period and respond to exceptions
- Document Settings: Record the approved configuration, equipment identifiers and test results in the handover file
- Plan interruption tests: Agree the test window, expected behavior and recovery procedure with the installer before simulating a power or network loss
- Train Users: Show assigned staff the assistance, exception and escalation procedures, and confirm who is available during operating hours
Ready to Expand?
Add More Devices
Expand your system with additional cameras, readers, or barriers
Configure Users
Set up customer access cards and administrative accounts
Advanced Features
Explore analytics, reporting, and integration options
Continue with related guides
Review the full setup guide, device management and dashboard documentation.