



First record whether a call reaches its intended destination and which direction of speech is missing or unclear. An unanswered call and a connected call with poor visitor audio are different symptoms. These observations help the service team examine call routing, endpoint audio and the microphone separately instead of assuming that every assistance failure comes from the microphone.
Intercom and assistance
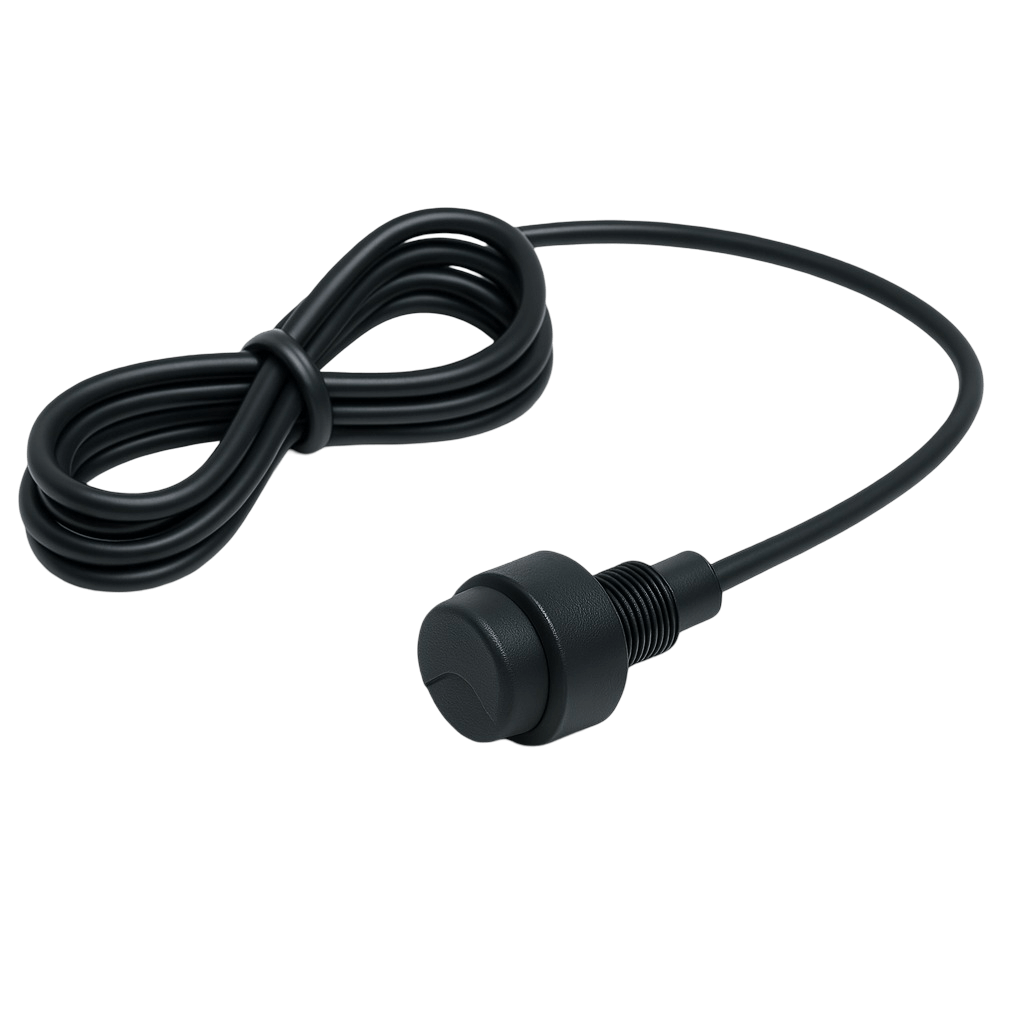
Lexoh Mic microphone for access assistance
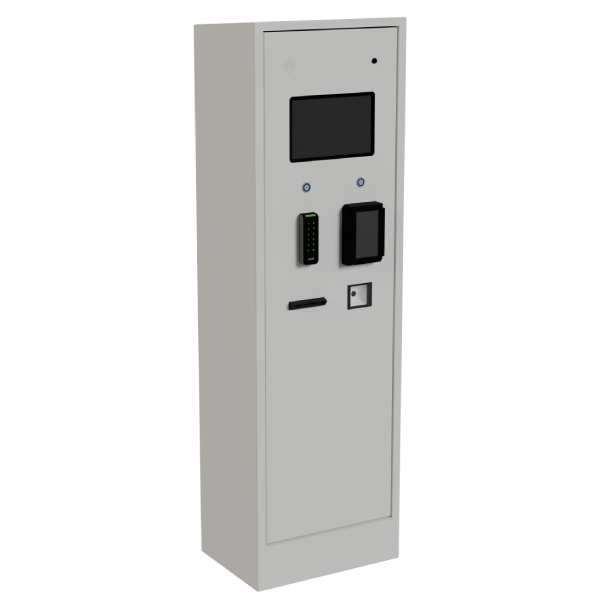
Lexoh Mic captures the visitor’s voice at an intercom or assistance point. Match this audio component to the installed endpoint, its electrical input and the enclosure, then test conversation quality from the user’s normal position.
- Role
- Access-point audio input
- Audio path
- System defined
- Product
- Lexoh Mic
Microphone selection
Choose the right microphone for your intercom.
Lexoh Mic captures the visitor’s voice. A conversation also requires a compatible intercom connection and a device configured to receive and answer calls.
Is a microphone a complete intercom?
No. A microphone supplies audio input; it does not provide the entire conversation or call-routing system. For two-way assistance, check the intercom, speaker or listening device, operator endpoint and call configuration together.
Identify the component before replacing it
Provide the installed intercom model, existing microphone reference and photos of the connections. Confirm electrical compatibility, connector and physical fit. A replacement that fits the opening is not necessarily suitable for the endpoint’s audio input.
Test speech where the visitor actually stops
Check the caller’s normal position with vehicle noise, wind and nearby audio equipment. Test both directions of a real call after installation, and review any recording requirements with the configured assistance system; the microphone alone does not define recording.
Intercom servicing
Replace the microphone with the right part.
The microphone captures the user’s voice. Its connection and mounting must fit the installed intercom.
- Identify the assembly
- Use the intercom model and the existing microphone reference.
- Match the connection
- Check the connector, wiring and mounting against the compatible replacement.
- Test a call
- Check voice capture after installation from the normal user position.
Lexoh Mic compatibility checklist
| Check | Details |
|---|---|
| Product | Lexoh Mic |
| Role | Audio-input component for an intercom or access-assistance point |
| Electrical interface | Confirm the supply, input level, connector and wiring against the installed intercom and the offered component. |
| Mounting | Confirm component dimensions, enclosure opening and cable routing using the corresponding drawing. |
| Site conditions | Confirm the operating conditions and protection of the complete installed assembly. |
Confirm the component reference, electrical requirements and mounting drawing with Lexoh before ordering. Compatibility is assessed for the installed intercom.
Prepare a service request
What to send for a microphone replacement
A short equipment record helps Lexoh distinguish a replacement request from a problem elsewhere in the assistance system.
| Information | What to provide |
|---|---|
| Installed equipment | Intercom model, microphone reference, label photographs and the site or lane where it is installed. |
| Observed symptom | State whether the call connects and whether the visitor, the operator or both have difficulty hearing. |
| When it occurs | Note whether the problem is constant or linked to traffic, wind, caller position or a recent equipment change. |
| Installation photographs | Show the complete assistance point and available photographs of the mounting and connections for comparison with the replacement drawing. |
| Return-to-service test | Identify the answering operator and plan a two-way test call from the normal visitor position after installation. |
Configuration: Keep the approved replacement reference and test result with the site service record.
Plan who answers intercom calls and what happens when nobody answers
Equipment questions
Practical details for planning, operating and maintaining this equipment.
A commissioning record can describe the test position, ambient conditions, connected endpoint and whether both parties understood the agreed test conversation. Use planned test participants and record the result rather than retaining incidental visitor speech. If recordings are required for another purpose, define that requirement and handling process separately within the approved assistance system.
Project review
Find the microphone for your intercom.
Send the intercom model and a photo of the microphone and its connections to discuss a compatible replacement.