


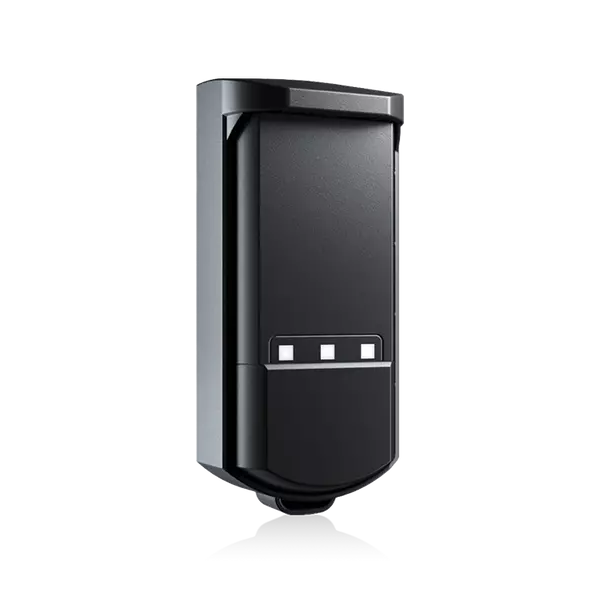
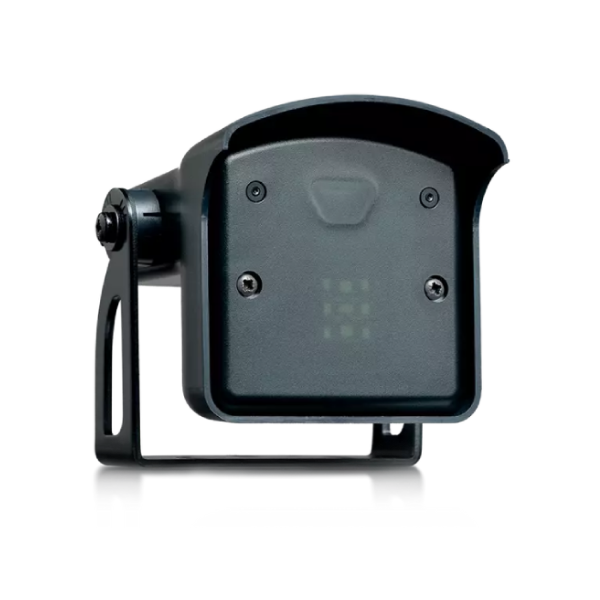
LEXOH System Overview
Lexoh connects parking, access control, video and site operations with physical readers, controllers, barriers and kiosks. This guide takes an administrator and installer from site preparation to acceptance testing. Apply the sections that match your ordered modules, hardware and deployment.
Core Components
Parking Management
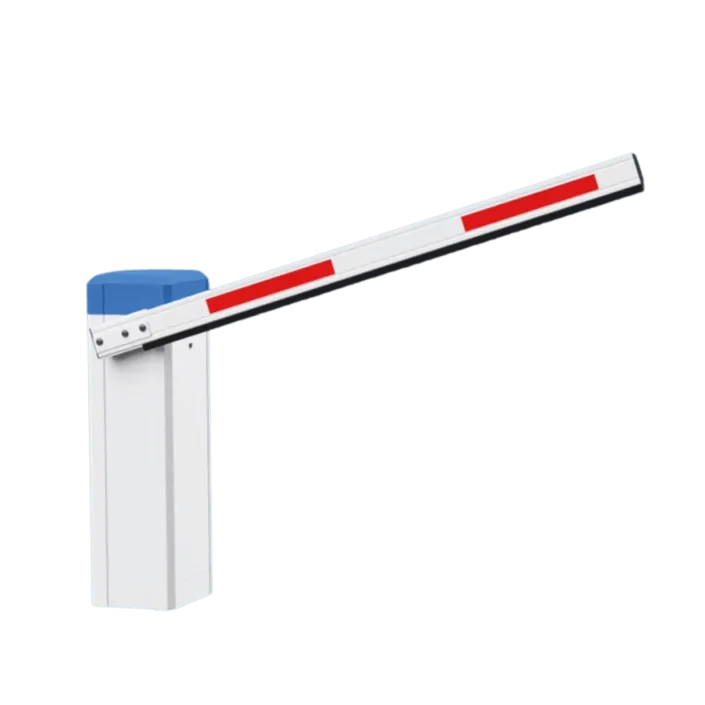
Automated parking barriers, payment kiosks, occupancy tracking, revenue analytics, and customer management with real-time monitoring.
Access Control
Manage credentials, visitors and access schedules for the readers and controllers installed at your site.
Video Surveillance
Connect supported IP cameras for live video and the recording or event workflows specified for your deployment.
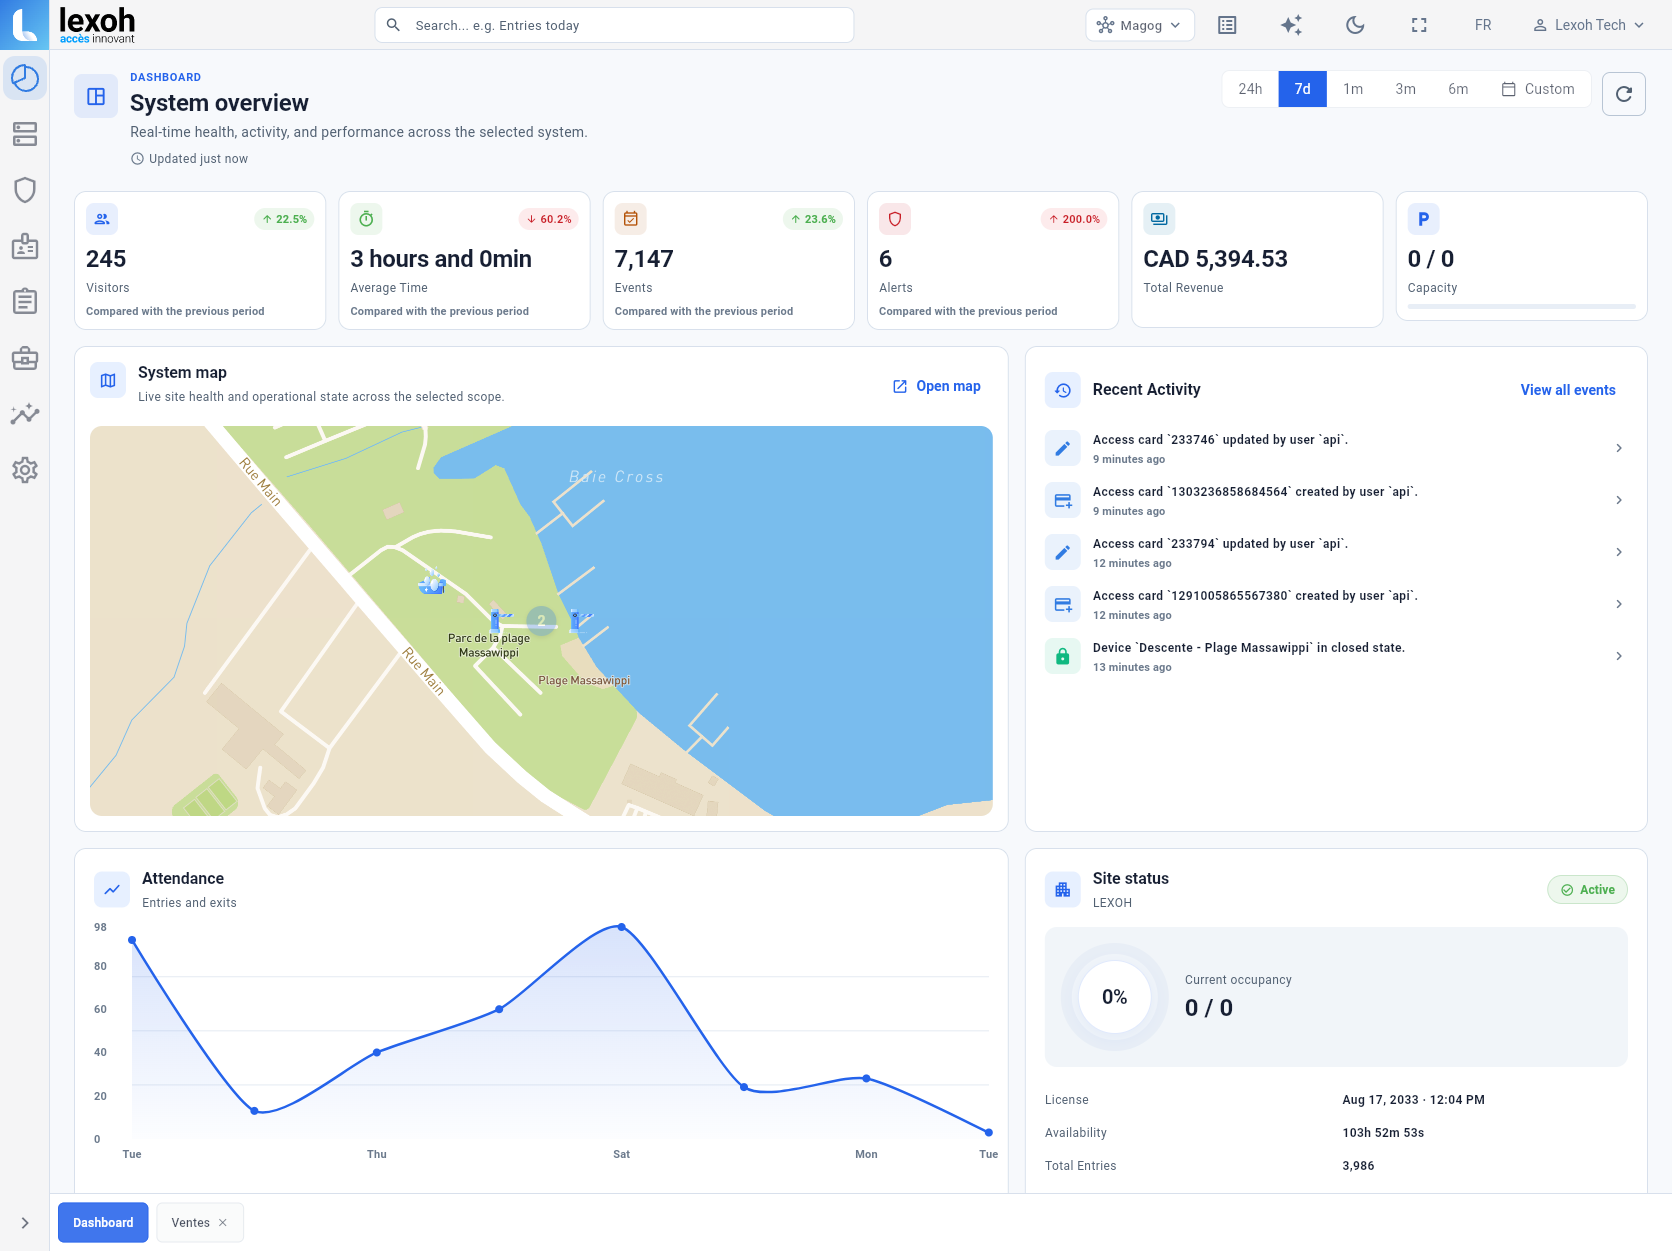
Analytics Dashboard
Review access activity, occupancy and revenue for the modules enabled on your system.
Alert System
Automated notifications, device health monitoring, security alerts, and customizable notification rules.
API Integration
Authenticated HTTP requests, JSON records and event retrieval for custom integrations.
Supported Device Types
Parking Barriers & Gates
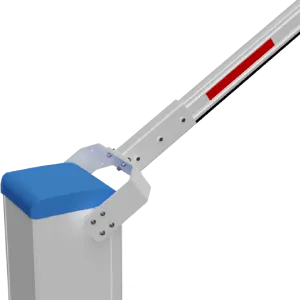
ELKA, Automatic Systems and PivinDrapeau; confirm the selected model, controller interface and detection equipment.
Card Readers & Scanners
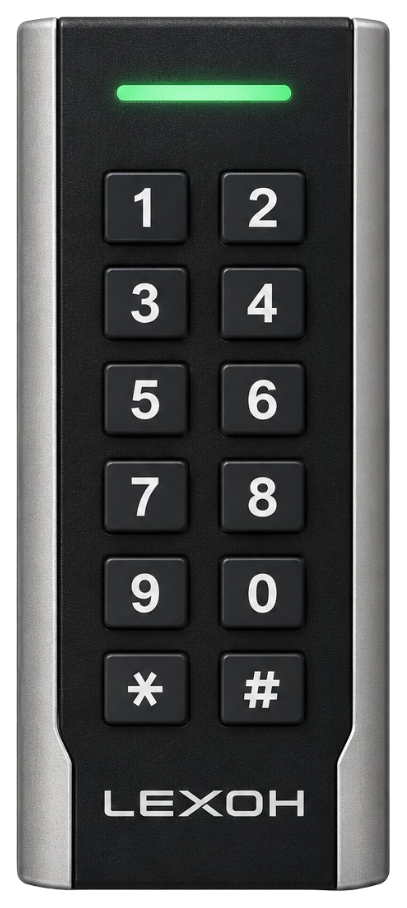
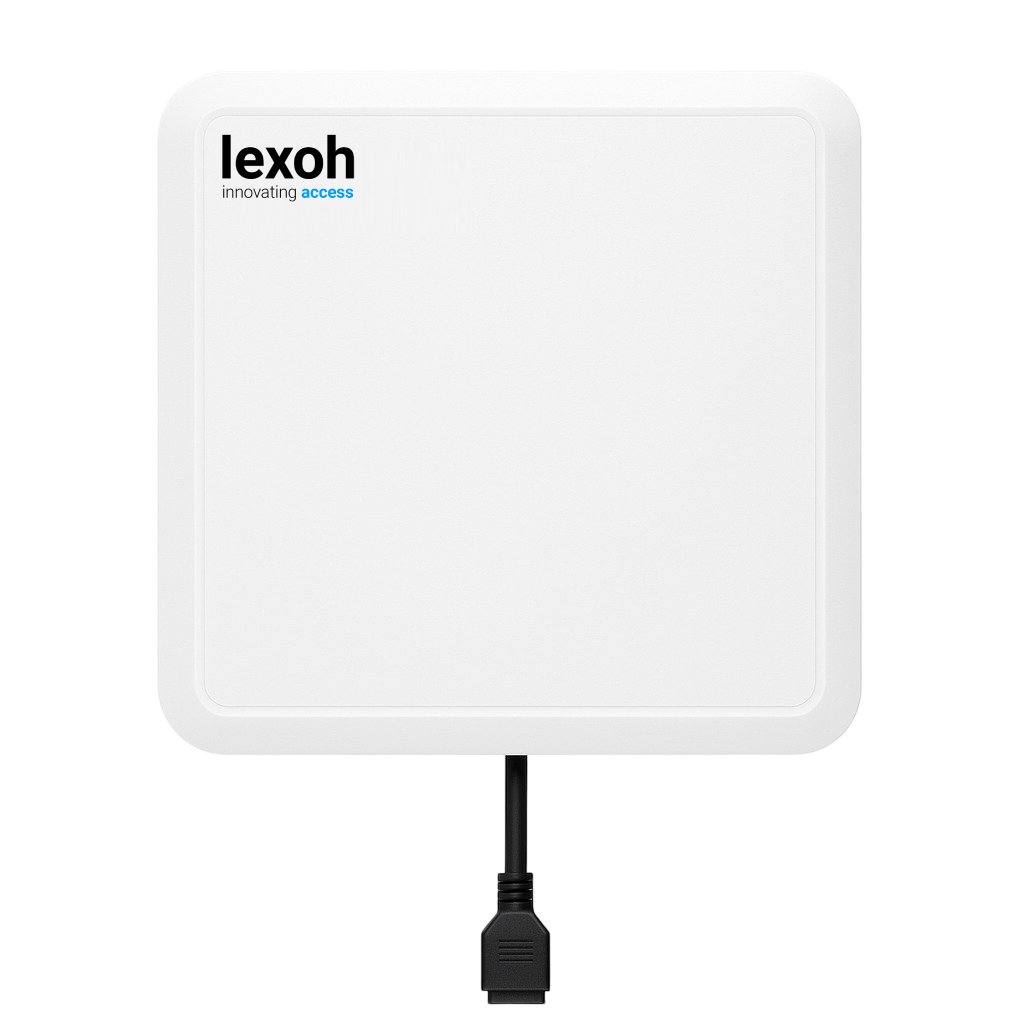
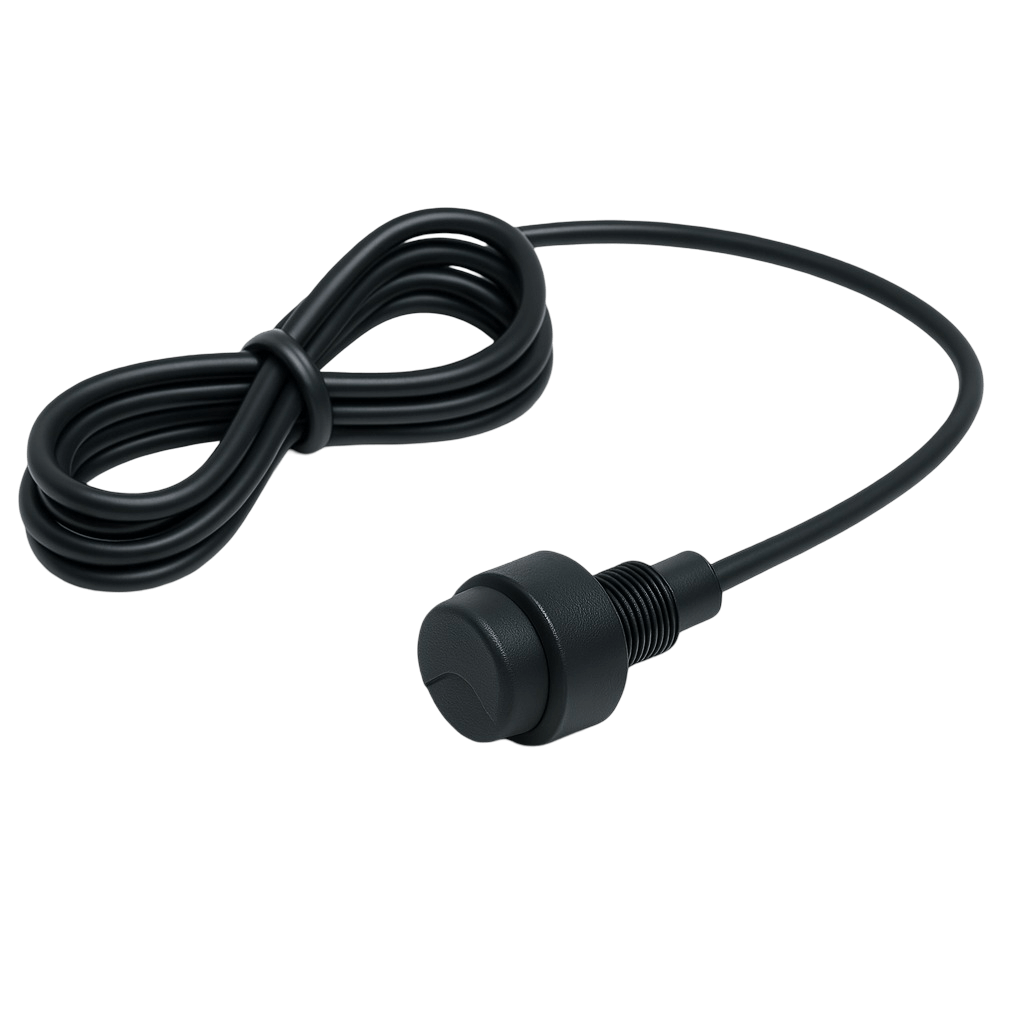
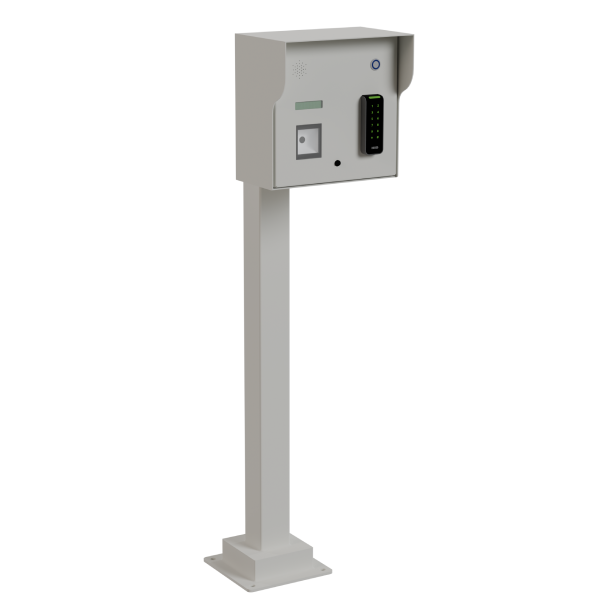
RFID card readers, QR scanners and the Lexoh UHF9DBI vehicle-tag reader, selected for the credential workflow.
IP Cameras
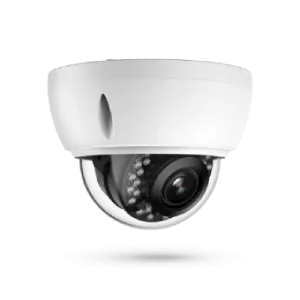
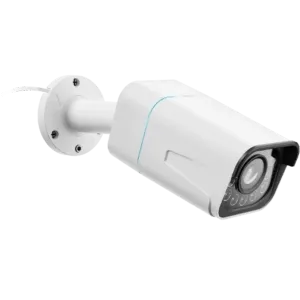
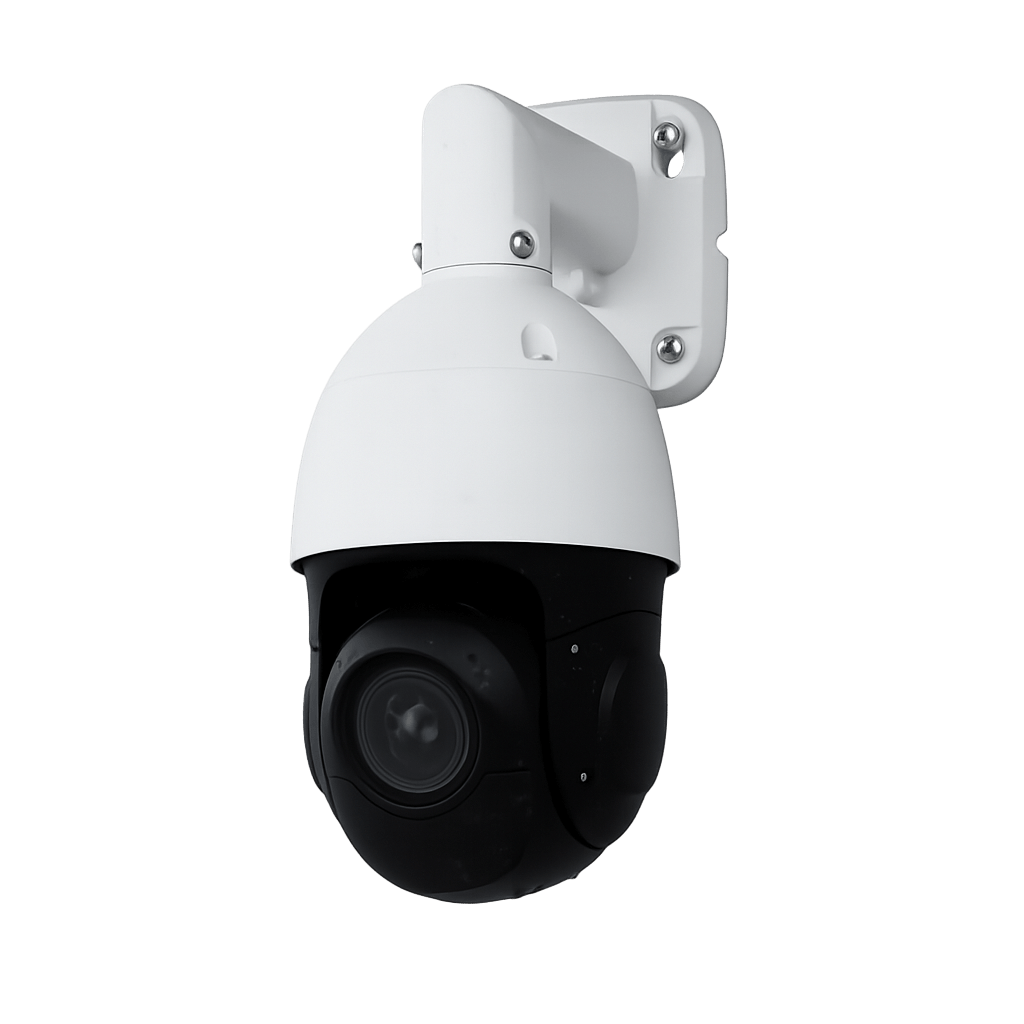
Bullet, dome or PTZ cameras; resolution, low-light performance and supported streams depend on the selected model.
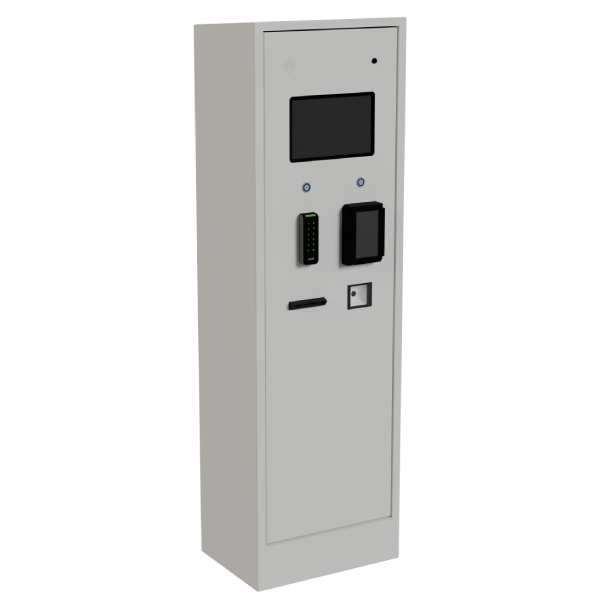
Payment Kiosks
Touchscreen terminals with payment processing and ticket printing
Communication Devices
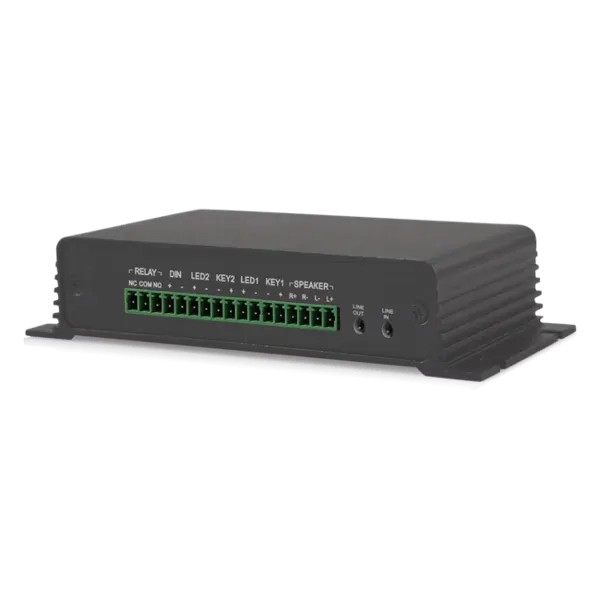
IP intercoms, microphones, LED signage, and speakers
Supported Platforms
Use the web address or application release supplied for your organization. Confirm the supported operating-system version and distribution channel with your administrator.
Web
Open the Lexoh web address supplied by your administrator in a supported browser.
Windows
Request the approved Windows installer and supported version from your administrator.
macOS
Confirm the available macOS release and installation instructions for your deployment.
Linux
Confirm the supported Linux distribution and package for your deployment.
Android
Use the Android distribution link provided by your administrator.
iOS
Use the iOS distribution link provided by your administrator.
Logging In
When you open LEXOH, you will see the Login Screen with three fields:
- Business Code — Your organization's unique code provided by your administrator. On web deployments, this may be automatically detected from the URL subdomain.
- Username — Your personal username.
- Password — Your account password.
Steps
- Enter your Business Code (if not pre-filled).
- Enter your Username.
- Enter your Password.
- Tap/click the Login button.
Tip: The app remembers your last used Business Code for convenience. You can switch between English and French using the language button on the login screen.
Note: If your credentials are incorrect, an error message will appear. Contact your administrator if you cannot log in.
Multi-Factor Authentication (MFA)
If your account has MFA enabled, after entering your credentials you will be prompted for a TOTP verification code.
- Open your authenticator app (Google Authenticator, Microsoft Authenticator, Authy, etc.).
- Find the LEXOH entry and read the 6-digit code.
- Enter the code in the verification field.
- Tap/click Submit.
Lost Access: If you have lost access to your authenticator app, contact your administrator to reset MFA on your account.
Selecting a System
If your account has access to multiple parking systems/servers, the System Select screen will appear after login. Choose the system you want to connect to by tapping on it.
If you only have access to one system, this step is skipped automatically.
Tip: You can switch systems at any time from the server switcher in the top app bar.
Prerequisites & Planning
Before beginning your LEXOH deployment, ensure you have the necessary infrastructure and requirements in place.
Network Requirements
- Internet connection: size capacity for the actual device traffic, simultaneous video streams and remote users.
- Network stability: measure latency, packet loss and interruption behavior against the site’s acceptance criteria.
- Network Configuration: DHCP or static IP addressing with DNS access
- Firewall rules: obtain the deployment-specific destinations, ports, protocols and traffic direction before configuring access.
- Domain access: verify the actual service hostnames, DNS resolution and certificate requirements supplied for the site.
- Cabling: specify cable type, route, distance, surge protection and PoE standard from the approved network design and device manuals.
Power & Infrastructure
- Power supply: use the selected model’s rating. The LCB-30 uses 110–120 V AC; the UHF9DBI specification lists 9–25 V DC, nominal 12 V.
- Electrical installation: have qualified personnel specify circuit protection, grounding and isolation for the equipment and site.
- Environment: compare each model’s temperature and ingress ratings with the installation conditions; an enclosure rating does not describe the whole installed assembly.
- Physical Security: Secure mounting and tamper-resistant installations
- Emergency Access: Manual override capabilities and emergency protocols
Account & Licensing
- LEXOH Cloud Account: Active subscription with appropriate device licensing
- Administrator access: assign a named account with the permissions needed for commissioning.
- API Access: An existing account with the permissions required by the integration
- Support Plan: Appropriate support level for your deployment size
Hardware Installation & Setup
Install and configure your LEXOH hardware devices following proper safety procedures and best practices.
Safety First
- Qualified personnel must follow the applicable isolation procedure before electrical or mechanical work.
- Use appropriate personal protective equipment (PPE)
- Ensure proper grounding for all electrical connections
- Follow local electrical codes and regulations
- Use qualified electrical and gate installers for the work within their scope.
Device Installation Order
-
Network Infrastructure
Install network switches, run Ethernet cables, and establish internet connectivity before installing devices.
-
Power Distribution
Install the circuits, protection and power supplies defined in the approved electrical design; verify each device rating before connection.
-
Barrier Systems
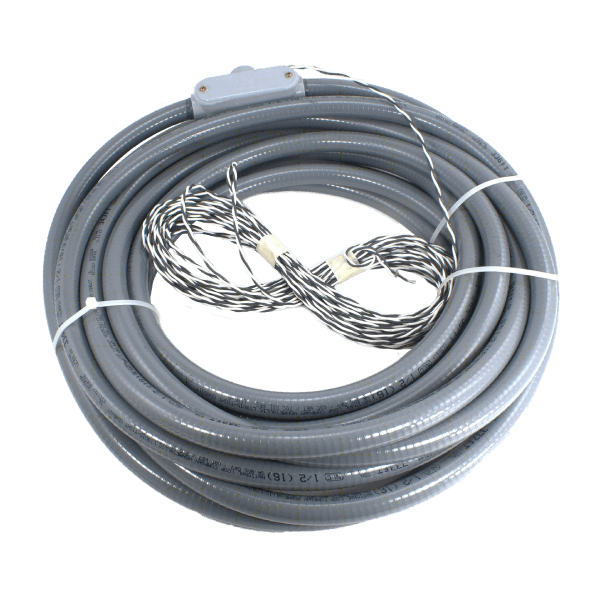
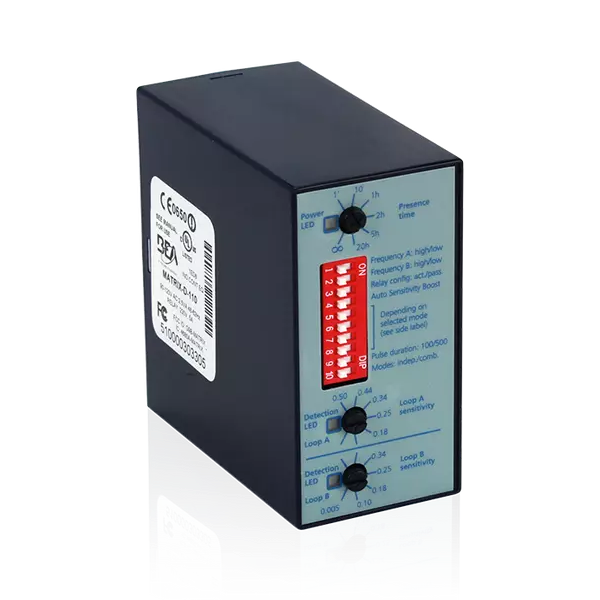
Install parking barriers, gate controllers, and vehicle detection loops with proper foundation work.
-
Access Control Devices
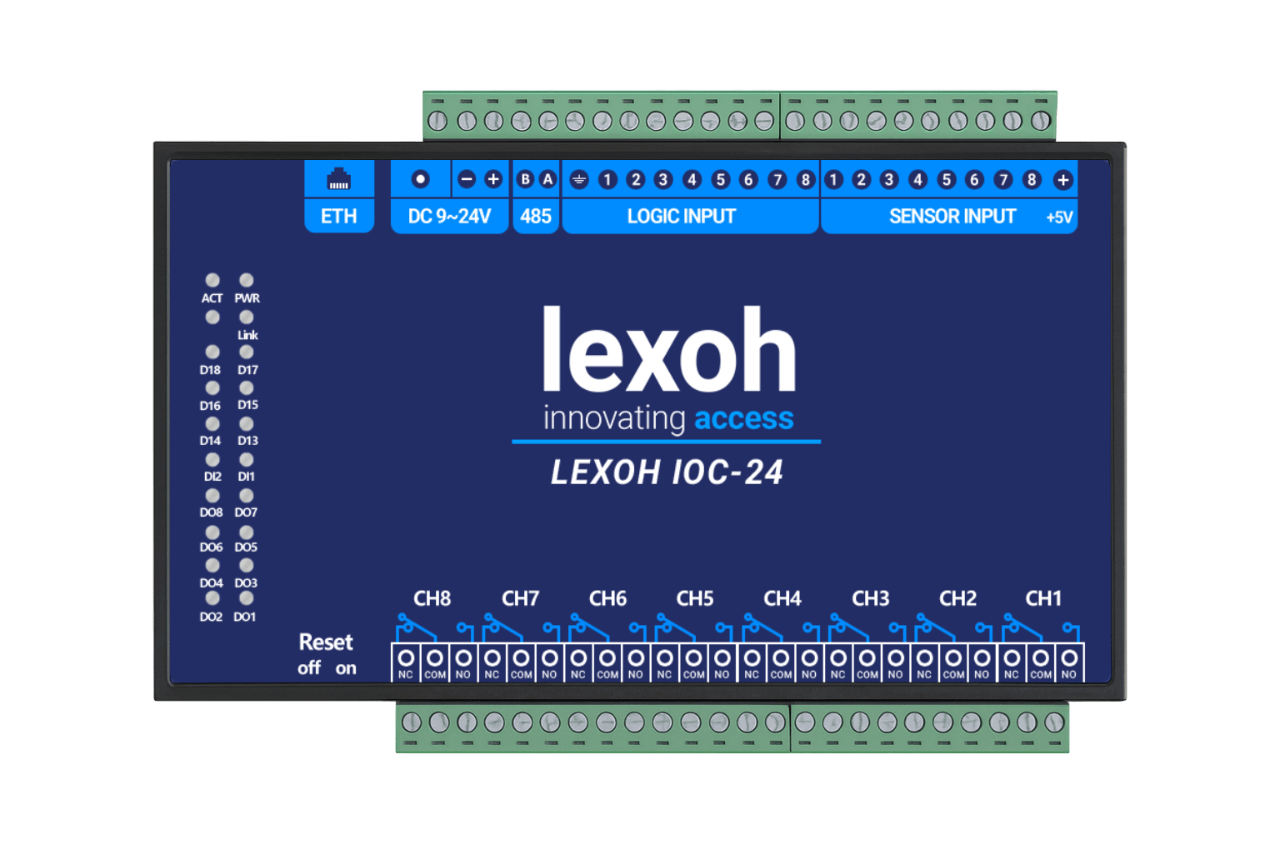
Mount the selected readers and door controllers according to their manuals, the credential workflow and the approved site layout.
-
Camera Systems
Install IP cameras with proper angles, lighting considerations, and weatherproof mounting.
-
Payment & Communication
Set up payment kiosks, intercoms, LED signage, and customer communication devices.
LEXOH Cloud Platform Setup
Configure your LEXOH cloud account and establish the foundation for device management and system operation.
Account Configuration
- Account Access: Open app.lexoh.com with the account details or invitation provided for your organization
- Invitation: Follow the sign-in instructions supplied by your administrator; if a temporary password was issued, update it as instructed
- Organization Details: Have your organization, site and contact information ready for configuration
- Site Access: Check that your account can access the site you will configure
- User Permissions: Ask an authorized administrator to invite additional users and assign the roles they need
- API Integration: Review the API authentication guide for session login and the permissions required by your integration
Initial System Configuration
General Settings
- Site Name: Configure your facility name for tickets and reports
- Time Zone: Set correct time zone for accurate event logging
- Tax Configuration: Set up tax rates and registration numbers (if applicable)
- Branding: Upload logos and set brand colors for customer-facing materials
- Contact Information: Configure support contact details and emergency contacts
Zone & Location Setup
- Create Zones: Define logical areas (parking lots, buildings, floors)
- Set Coordinates: Configure GPS coordinates for location mapping
- Access Schedules: Set up operating hours and holiday schedules
- Capacity Limits: Configure maximum occupancy for each zone
- Pricing Structure: Set up rates, promotions, and payment rules
Device Registration & Configuration
Register devices using the workflow supported by your installed release. Menu labels and configurable options can vary by device type and account permissions.
Device Registration Process
- Access Device Management: Navigate to "Devices" in the admin dashboard
- Add New Device: Click "Add Device" and select device type from catalog
- Device Information: Enter device name, location, and MAC address
- Network Settings: Configure IP address (static or DHCP) and network parameters
- Zone Assignment: Assign device to appropriate zone or area
- Device Role: Set device type (entry, exit, bidirectional, payment)
- Save & Sync: Save configuration and wait for device to appear online
Device-Specific Configuration
Parking Barriers
- Selected manufacturer and model: ELKA, Automatic Systems or PivinDrapeau; identify the actual control interface.
- Manufacturer-approved motion settings, commissioned by the qualified installer
- Vehicle detection loop configuration
- Safety settings and emergency modes
- Traffic light and signage integration
Access Control Readers
- Match reader model and credential type: RFID card, QR code or UHF vehicle tag
- Use the interface documented for both reader and controller; the UHF9DBI lists RS232, RS485, Wiegand, TCP/IP and USB.
- Read range and sensitivity settings
- Anti-passback and security rules
- Audio and visual feedback configuration
IP Cameras
- Resolution and frame rate settings
- Motion detection zones and sensitivity
- Recording schedules and retention policies
- Night vision and lighting compensation
- PTZ presets and tours when supported by the installed camera
Payment Kiosks
- Payment processor integration and settings
- Touchscreen interface customization
- Thermal printer configuration
- Receipt templates and branding
- Multi-language support and accessibility
System Configuration & Integration
Configure system-wide settings, operational rules, and integrate with existing business systems.
Operational Settings
- Grace period: configure the approved free-parking duration and test the tariff boundary.
- Maximum Stay: Configure maximum parking duration limits
- Open sessions: agree how abandoned sessions are reviewed or closed, then verify the available setting and its reporting impact.
- Lost Ticket Fee: Set charges for lost parking tickets
- Emergency Modes: Configure system behavior during emergencies
- Maintenance Mode: Set up maintenance mode for system updates
Alert & Notification Configuration
- Device Alerts: Configure notifications for device offline/online status
- Capacity Alerts: Set warnings when parking capacity reaches thresholds
- Security Alerts: Configure unauthorized access and intrusion notifications
- System Alerts: Set up notifications for system errors and maintenance needs
- Email Configuration: Set up SMTP settings for automated emails
- Event Integration: Retrieve activity through the event API and process it in your application
Dashboard Customization
- Dashboard views: select the available views that support the operator’s daily tasks.
- Layout: confirm the customization options in your installed release.
- Data Filters: Configure default time ranges and filtering options
- Display preferences: use available appearance settings and verify readability.
- Data freshness: check event timestamps and any available refresh settings.
- User Permissions: Configure role-based dashboard access
User Management & Access Control
Set up user accounts, access permissions, and customer management systems to control who can access your facilities and administrative functions.
Administrative Users
- Create User Accounts: Add administrative users in the "Users" section
- Assign roles: choose the installed role and permissions appropriate to each person’s duties.
- Set Passwords: Configure strong passwords and two-factor authentication
- Define Permissions: Grant access to specific system modules and functions
- Scope access: verify the site and module restrictions supported by the installed release.
- Test Access: Verify each user can access their assigned functions
Customer Management
Access Card Setup
- Credential registration: enroll the approved RFID cards, QR codes or UHF tags for the installed readers.
- Customer information: collect only the identity, contact and vehicle details needed for the approved access workflow.
- Access Permissions: Define which areas and times customers can access
- Validity Periods: Set card expiration dates and renewal schedules
- Payment relationship: verify the configured account or permit workflow and test how access changes when its status changes.
Guest Management
- Temporary Access: Create time-limited access codes for visitors
- Visitor registration: choose the supported registration method and information needed for the visit.
- Host approval: identify who authorizes a visit and how the approval is recorded.
- Escorted visits: document who accompanies visitors where required by site policy.
- Audit Trails: Ensure all guest access is properly logged and tracked
Example responsibilities — map to your configured roles
Testing & System Verification
Thoroughly test your LEXOH system before going live to ensure all components work correctly and meet your operational requirements.
Pre-Launch Testing Checklist
Device Status Verification
- All devices show "Online" status in the dashboard
- Network connectivity confirmed for each device
- Power indicators and LED status lights functioning
- Device health sensors reporting correctly
- Installed firmware versions recorded and compatibility confirmed
Access Control Testing
- Test card readers with registered access cards
- Verify door locks and barriers operate correctly
- Test emergency unlock and manual override functions
- Confirm anti-passback rules work as expected
- Test time-based access restrictions
- Verify unauthorized access denial
Camera & Monitoring
- Live video streams accessible from dashboard
- Camera angles and focus properly adjusted
- Motion detection zones configured and tested
- Recording schedules active and storage functioning
- Night vision and lighting compensation working
- PTZ controls responsive (if applicable)
Payment & Parking
- Entry barriers open for authorized vehicles
- Payment kiosks process transactions correctly
- Ticket printing and receipt generation working
- Occupancy counting accurately tracks vehicles
- Revenue calculations and tax computation correct
- Lost ticket procedures function properly
System Integration
- Event logging appears in real-time dashboard
- Notifications and alerts received correctly
- Reports generate with accurate data
- API integrations functioning (if configured)
- Backup and disaster recovery tested
- User access permissions validated
Performance Testing
- Load Testing: Simulate peak traffic to verify system performance
- Interruption testing: under the approved test plan, verify access, recording and recovery during a network or power interruption.
- Response Time: Measure barrier opening times and system responsiveness
- Capacity Testing: Verify system handles maximum expected concurrent users
- Permission testing: use authorized test accounts and credentials to verify both permitted and denied actions.
Next Steps & Ongoing Management
After acceptance testing and handover, assign responsibility for operation, incident response and maintenance. Keep the approved configuration and test record available to those teams.
Immediate Action Items
Staff Training
- Train operators on daily procedures
- Provide emergency contact procedures
- Create quick reference guides
Documentation
- Document final configuration settings
- Create network and device diagrams
- Establish backup procedures
Monitoring Setup
- Configure automated health checks
- Set up performance baselines
- Schedule regular maintenance
Advanced Features & Integration
- API Integration: Connect third-party applications using LEXOH REST APIs
- Advanced Analytics: Set up revenue analytics and occupancy reports
- Automated Reporting: Configure email alerts and confirm the reporting options available in your release
- Mobile access: confirm the operator and customer workflows supported by the supplied applications.
- External systems: define the data, permissions and supported interface for each payment, CRM or building-system connection.
Example review schedule — adapt to the maintenance agreement
- Daily: Monitor dashboard alerts and device status
- Weekly: Review system events and access logs
- Monthly review: assess firmware advisories, inspect camera image quality and review the agreed backup checks; schedule approved updates separately.
- Quarterly: Full system audit, user access review, performance optimization
- Annual: Hardware inspection, warranty renewals, capacity planning
Track system availability, device response times, user feedback and transaction trends. Compare results with the site’s operating requirements and investigate changes after commissioning.