



Plan the installation and handover
Use this guide to coordinate the site survey, equipment documents and acceptance checks. Installation must follow the selected model’s instructions and approved site design. Wiring colours, supply voltage, foundations, fasteners and safety devices are specific to that equipment and site.
Safety First
- Have the qualified installer isolate power and stored energy using the equipment’s approved procedure before work begins.
- Use appropriate personal protective equipment (PPE)
- Ensure proper grounding for all electrical connections
- Follow local electrical codes and regulations
- Assign electrical work and automated gate commissioning to appropriately qualified professionals.
Network Requirements
Confirm these network requirements with the site’s IT team and the selected equipment documentation before installation:
Internet Connection
- Size upload and download capacity for the actual devices, video streams and simultaneous users.
- Measure available bandwidth, latency and packet loss at the planned equipment connection.
- Agree on the required behaviour during a connection loss and verify recovery during commissioning.
Network Configuration
- DHCP or static IP addressing
- Access to DNS servers
- Obtain the required destinations, ports and protocols for the deployed services; have IT approve the firewall rules.
- Allow only the connections required by the approved architecture and record their purpose and owner.
Cabling
- Select cable type and protection for the interface, route and indoor or outdoor exposure.
- Check distance limits and required surge protection against the selected equipment and cabling design.
- Match each PoE device to its specified standard, power requirement and compatible switch or injector.
Access Control Devices
RFID Card Readers
- Confirm the reader model, credential technology and accessible presentation position for the intended users.
- Use provided template to mark screw holes
- Have the installer select fixings appropriate to the mounting surface and equipment instructions.
- Use the exact reader’s wiring diagram and voltage rating. Do not infer pin functions from colours used by another model.
- Mount reader and secure with screws
- Connect the supported reader interface to the controller according to the approved drawing.
- After the installer’s electrical checks, verify permitted and denied credentials and the intended physical response.
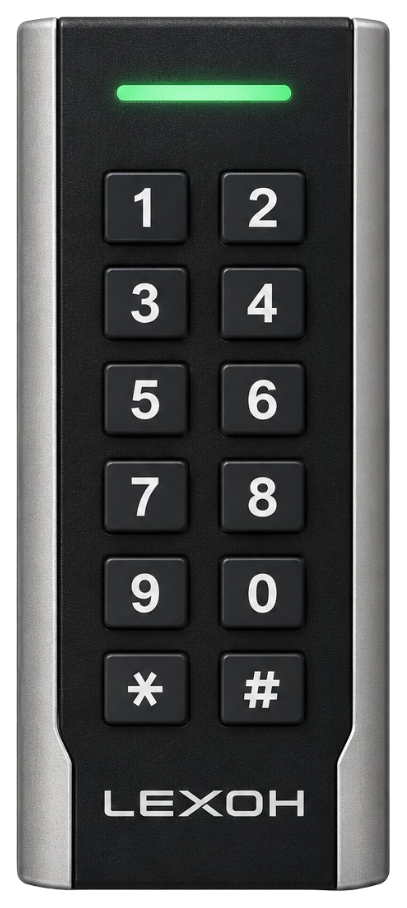
For the LEXOH-RFID-OSDP reader with keypad, the datasheet specifies 12–18 V DC power and OSDP or Wiegand communication. Confirm the credential format and controller settings before commissioning.
View LEXOH-RFID-OSDP specifications and datasheetDoor Controllers
- Confirm an accessible, secured mounting location with the installer and site operator.
- Match the lock and its power circuit to the controller ratings and approved door design.
- Map the door-position contact to the documented input and expected state.
- Have the qualified installer verify the required exit devices and emergency arrangements.
- Use the reader/controller interface documented for the exact combination.
- Verify power, backup arrangements and network connections against the approved design.
- Record accepted access, rejected access, door state and approved interruption/recovery tests before handover.
IP Cameras
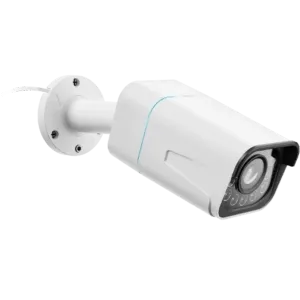
Bullet cameras
- Select mounting location with clear view of area
- Use the model’s approved bracket and fixings for the mounting surface.
- Route and protect cables as specified for the mounting bracket and exposure.
- If PoE is used, match the switch or injector to the camera’s documented standard and power requirement.
- Mount camera on bracket
- Adjust angle using provided tools
- Verify image focus in the live view; adjust it only with the controls provided for that model.
- Tighten all locking screws
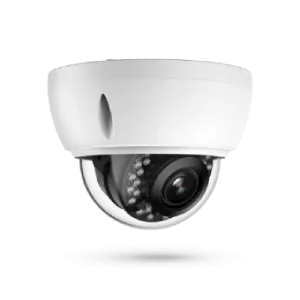
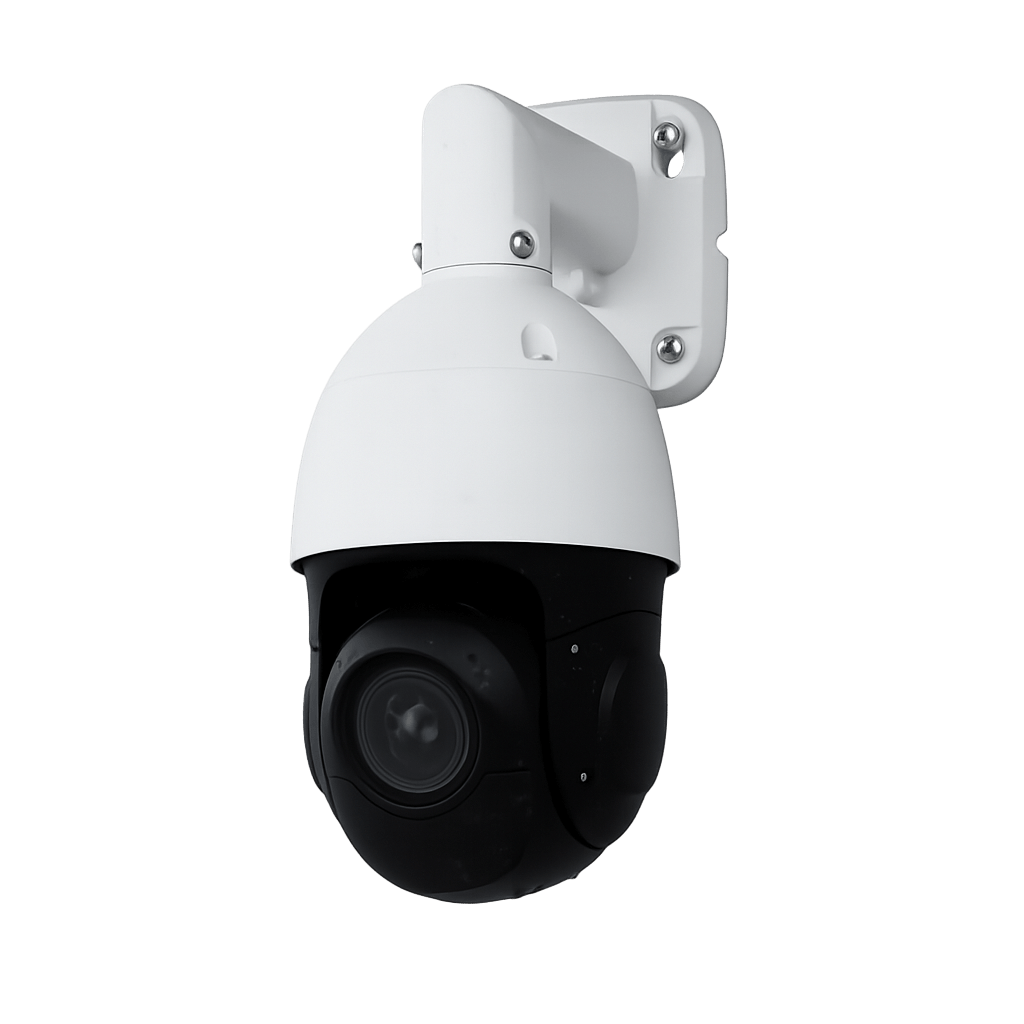
Dome Cameras
- Use the selected model’s mounting template or documented fixing pattern.
- Have the installer choose anchors and prepare the mounting surface according to the equipment instructions.
- Use the cable entry and seals specified for the selected enclosure and exposure.
- Connect network and power
- Secure base to ceiling/wall
- Adjust camera direction inside dome
- Close the enclosure and secure its cover, seals and fasteners as specified for that model.
Parking Systems
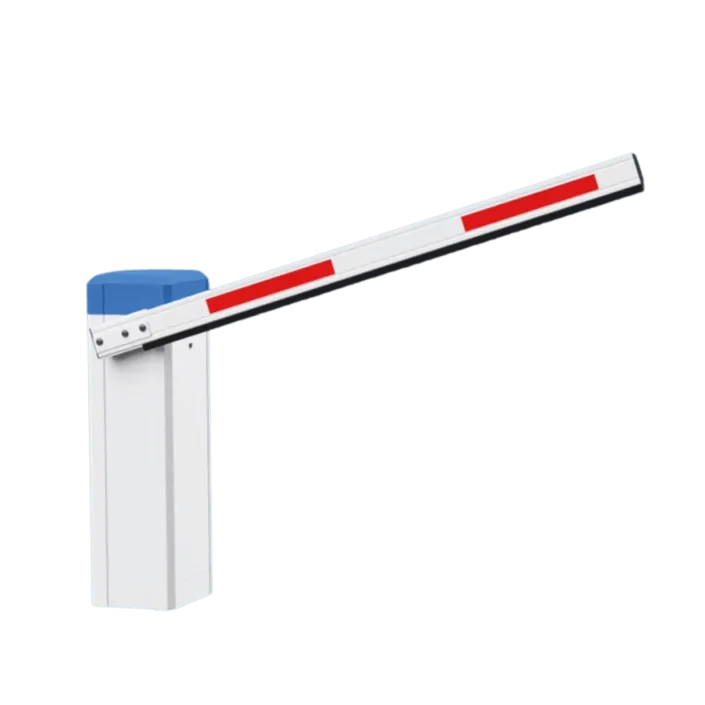
Parking Barriers
- Confirm the exact barrier model, arm, traffic duty and required safety configuration.
- Use the approved foundation and anchoring design, considering site conditions and the manufacturer’s requirements.
- Obtain the required concrete strength and curing acceptance from the foundation specification before mounting equipment.
- Have the installer position and secure the barrier using the model’s mounting procedure.
- Verify alignment and clearances throughout the movement path.
- Use the fasteners and tightening values specified for the chosen assembly.
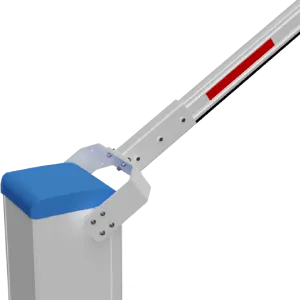
- Have trained personnel fit and adjust the arm and any balancing mechanism using the manufacturer’s procedure.
- Have a qualified electrician provide the supply voltage and circuit protection required by the model and site.
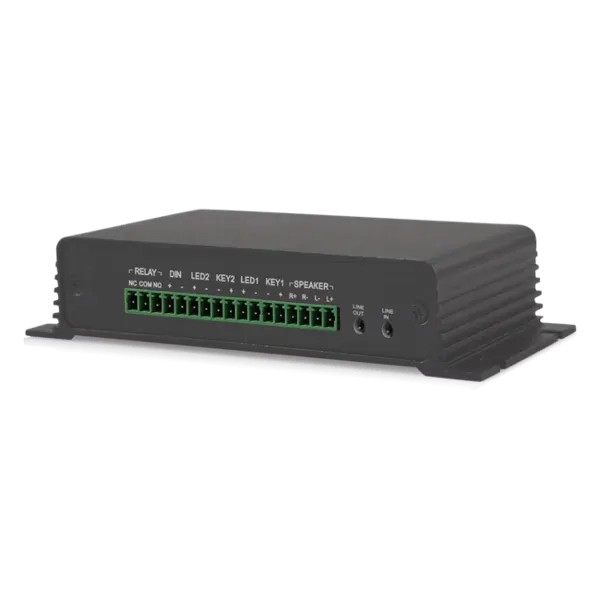
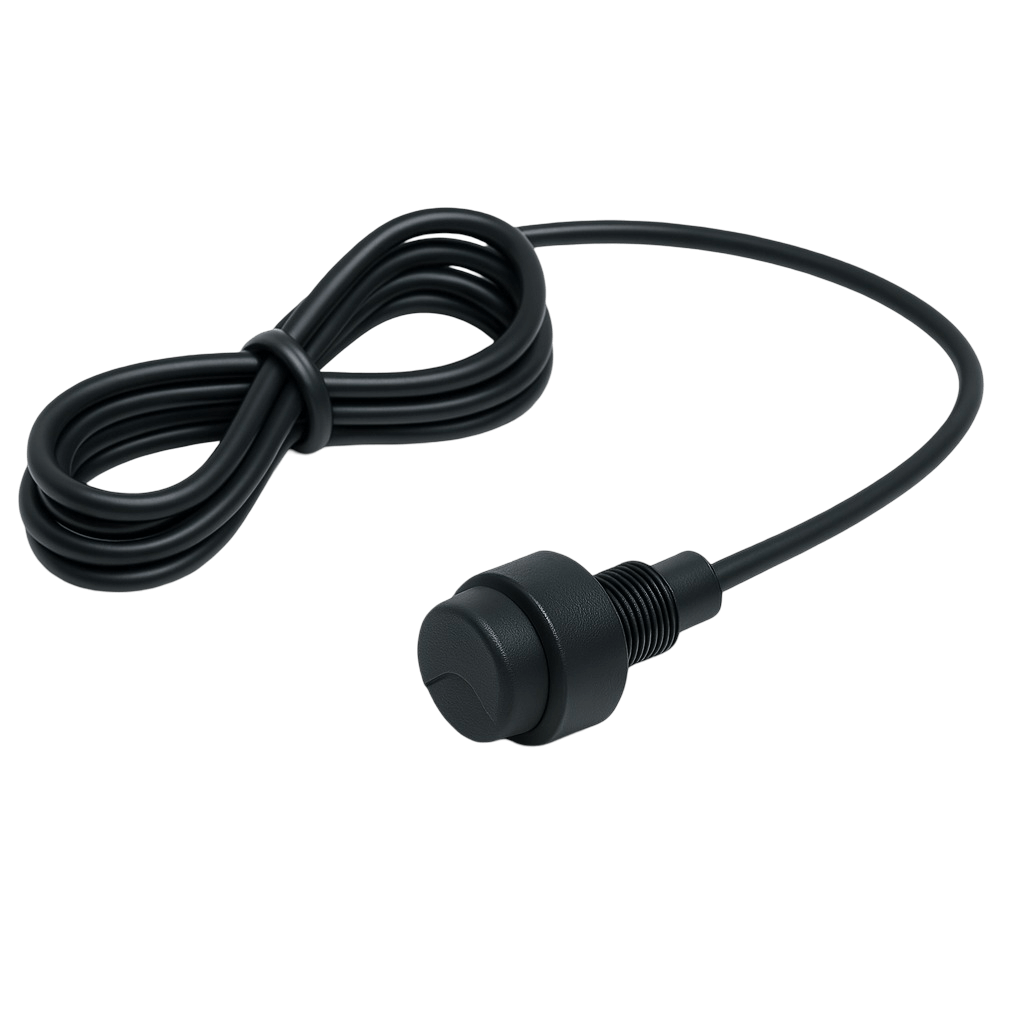
- Connect the approved controller interface and required detection and safety devices.
- Complete the manufacturer’s safety and movement tests with the work area controlled; keep people clear of moving parts.
- Record the commissioning results, emergency procedure, maintenance requirements and operator acceptance.
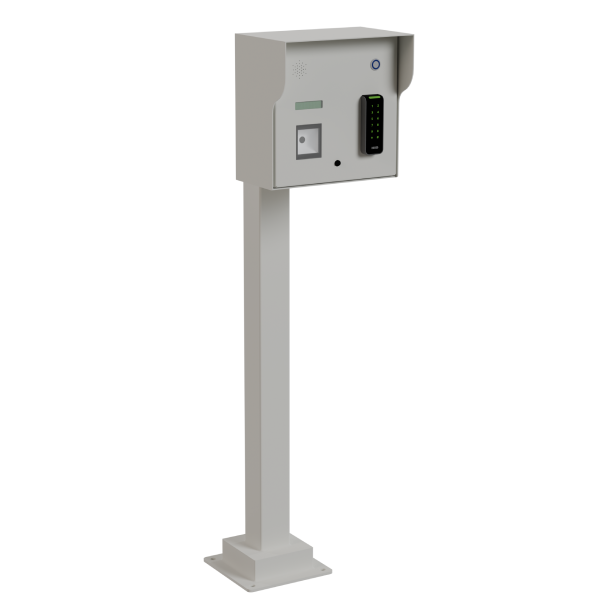
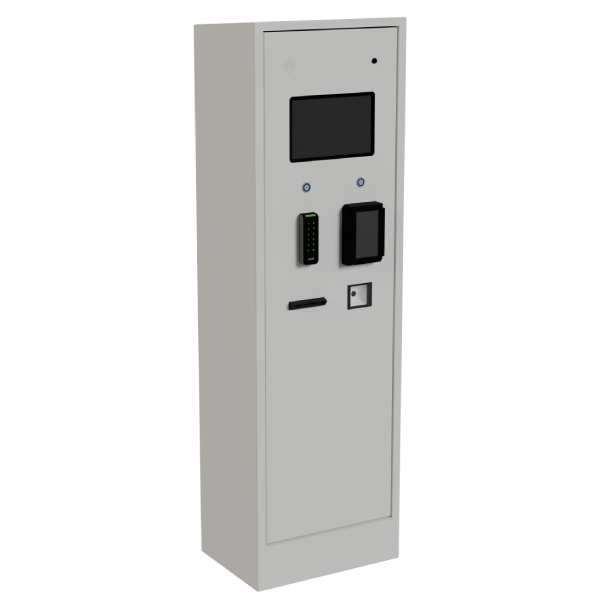
Parking kiosks
- Verify the kiosk’s environmental rating, user approach and service clearances for the location.
- Confirm the foundation and cable routes in the approved installation layout.
- Use the specified anchoring method and installer-approved mounting procedure.
- Match supply voltage, grounding and circuit protection to the kiosk documentation and local requirements.
- Connect the network using the approved site design and verify service connectivity.
- Confirm the installed reader, payment and printing modules against the ordered configuration.
- Test each configured access or payment workflow, including a declined or invalid attempt.
- Verify receipts or tickets when printing is included, then hand over replenishment and assistance instructions.
Post-Installation Checklist
- Power and status indicators checked against the documented operating states for each device.
- Required service connections verified; a successful ping alone does not prove application connectivity.
- Configured devices visible to the authorized operator in the deployed management system.
- Camera angles and focus adjusted
- Permitted, denied and expired credential cases tested for the selected access workflow.
- Door operation and required exit arrangements accepted by the qualified installer.
- Barrier movement, detection and required safety functions tested and documented.
- Cable connections secured and protected for their actual indoor or outdoor exposure.
- Expected operating events available to the authorized operator.
- User training completed
- Approved drawings, configuration records, test results and applicable warranty/service documents handed over. Record unresolved items, their responsible person and the agreed follow-up date.
Model documentation and acceptance
Use the model-specific documents below. Earlier general reference sheets may describe a different revision; obtain the approved mounting and site drawings for the equipment being installed.
- LEXOH-RFID-OSDP: card formats, keypad outputs and bilingual datasheets
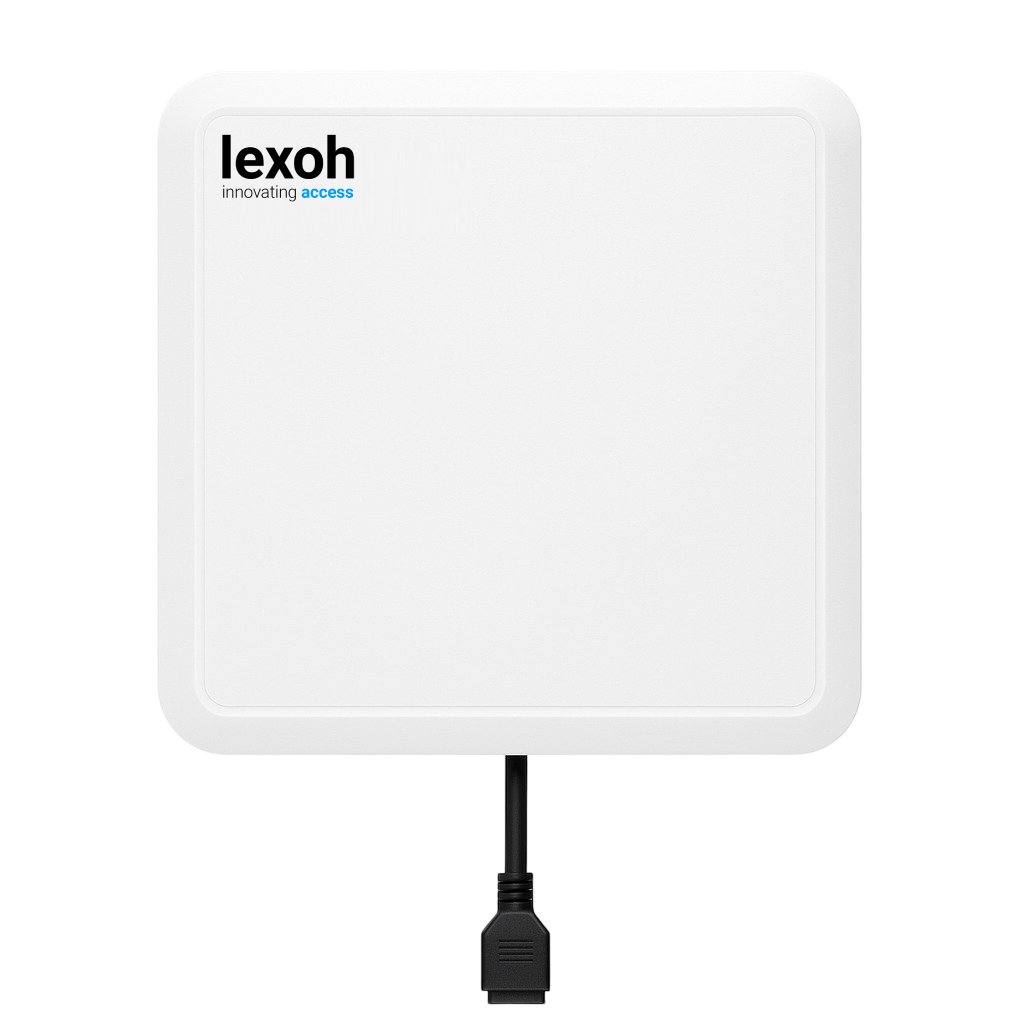
- Lexoh UHF9DBI: verified specifications, wiring and French datasheet
- LCB-30: power, dimensions and technical datasheets
- LPK-128V2: configuration and bilingual technical datasheets
- Parking entrance acceptance checklist
- DASMA: gate operator safety and manufacturer instructions